How To Properly Clean Sprinkler Heads
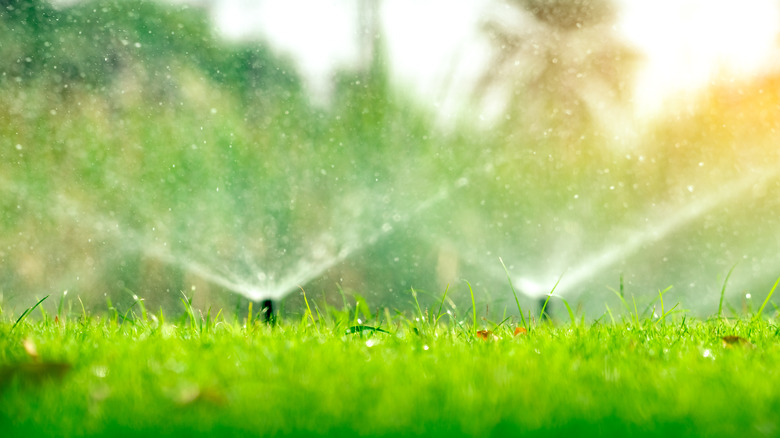
A beautiful green lawn is nice to look at, and your trusty garden sprinkler system plays a big role in keeping it that way (via Bob Vila). There are many things you should be cleaning but probably aren't, both inside and outside your home, and sprinkler heads are certainly one of them. A clogged sprinkler head could mean that water isn't distributed evenly, and you may end up with parched grass patches that tarnish the entire look of your lawn.
The cold winter months in which you don't use your spray heads could also contribute to debris build-up, per My Backyard Life. Or, maybe you just haven't mowed your lawn in a while and the overgrown grass is getting in the way of the sprinklers doing their job. Whatever the case may be, it's a good idea to check your sprinkler heads frequently to see if they might be in need of a good clean.
Cleaning a sprinkler head is not a complicated affair, so long as you have all the tools you need for the job. Keeping these cleaning supplies handy with the rest of your garden tools will ensure you're ready to go whenever your sprinkler system needs a refresh.
Start with these simple steps
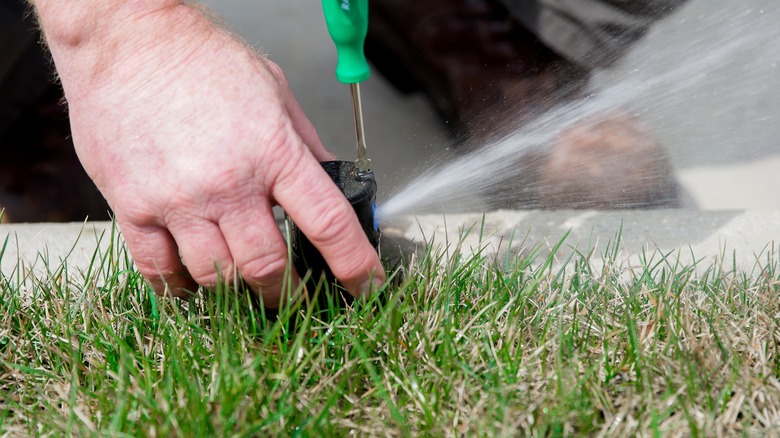
Once you've identified your appliances for cleaning — an adjustable vice grip, a clean towel, a bucket with some lukewarm water, a brush, and needle-nose pliers — you're ready to get started, according to My Backyard Life. Grab hold of the tip of the sprinkler head and gently remove it from its sleeve. Make sure the sprinkler tip remains in the correct position by holding it in place when pulled up and attaching adjustable vice grips to the shaft, GV Homes advises.
The next step is to unscrew the sprinkler head from the housing and take the filter out, per My Backyard Life. If this is proving challenging, you can use the needle-nose pliers to complete the task. Using the clean towel, wipe down your filter and make sure it's free of any dirt that could be causing it to clog. You can then move on to wiping the sprinkler head, making sure it's also free of any debris before soaking it in a bucket of lukewarm water for 30 minutes. While the sprinkler head soaks, you can clean out the sprinkler sleeve, taking care to remove anything inside or around it, according to Pro Green Irrigation.
In case soaking alone didn't get rid of any buildup on the sprinkler head, you can use a brush and gently scrub away any remaining impurities.
Add these finishing touches
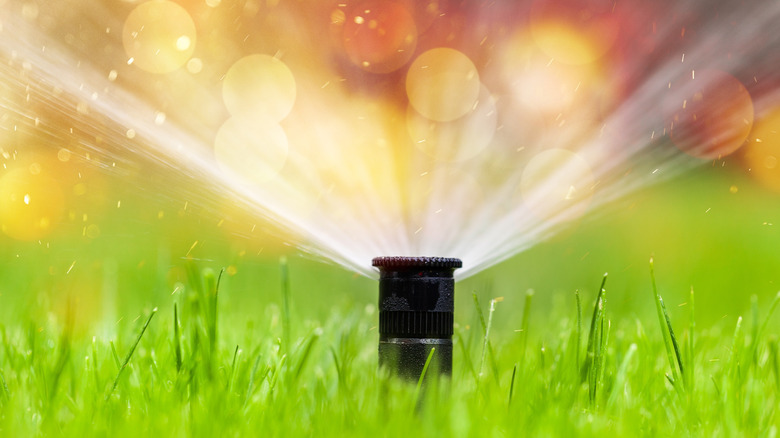
While the adjustable vice grip is still attached to the shaft of the sprinkler, you can turn on your sprinkler system for a bit and flush the line out to ensure that's also clean, suggests My Backyard Life. Once that's done, you can move on to safely reassembling your sprinkler head and popping it back into the sleeve. At this point, it might be a good idea to turn on your sprinkler system again to see if everything's working the way it should be.
Cleaning your sprinkler heads should be an annual activity, but there are other things you could be doing to ensure you're maintaining them well throughout the year. If you're concerned with saving water, a moisture sensor might be a good product to invest in, as it will keep a track of the wetness of your lawn and tell you when to skip watering it, according to Melnor.
Inspecting your sprinkler heads for any kind of leaks on a periodic basis is also another great way to ensure you're not spending unnecessarily on your water bill. You can also preserve the quality of your sprinkler heads by putting them away during the cold winter months.