How To Overline For Fuller, Natural-Looking Lips
Let's face it — luscious lips are in. Whether you're inspired by Kylie Jenner or simply want the look of a fuller pout, many often turn to healthcare professionals for help enhancing their lips and boosting their confidence. In 2018 alone, over 2 million lip augmentations were performed, according to The Cleveland Clinic, and that number seems to only be growing. In fact, it's estimated that non-invasive esthetic treatments like lip fillers will more than triple in sales by the year 2030 (via Economist).
Perhaps you don't want to go under the knife (or be poked with a needle, in this case) to achieve bigger lips. The good news? You don't need to. One trip to your local beauty store will reveal countless makeup products to help you achieve any desired look without the need for shelling out hundreds of dollars on medical procedures. Sharpen that lip liner pencil and grab your lipstick because we have all the details on overlining for fuller, natural-looking lips.
Figure out your lip shape and choose the right lip product

The first and most crucial step in overlining your lips is getting acquainted with their natural shape. According to Byrdie, no two lips are the same, so there won't be a specific guide to follow in terms of where to exactly apply the product. Instead, you should look at your lips as they are now and decide where you want some extra fullness. For example, if your lip shape has a strong and sharp Cupid's bow and you want it to be a little rounder on the top, you'll want to dial in on that when over-lining.
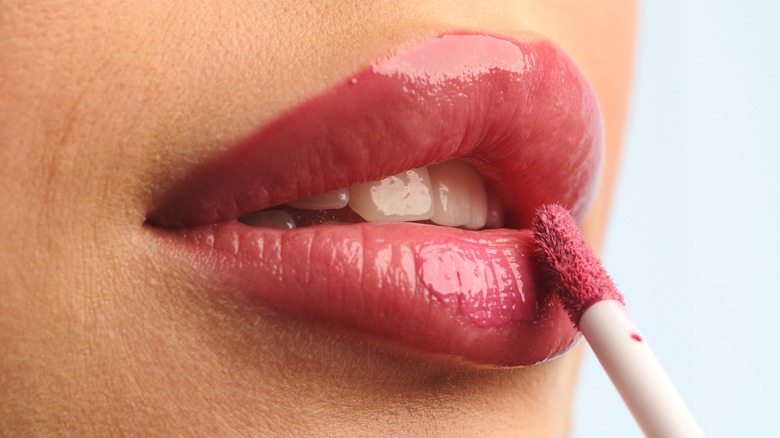
Choosing the right lip product is also essential in creating a natural-looking lip. Imagine you selected a dark lip liner and filled the rest of the lips in with a significantly lighter shade of lipstick. While that look is preferred for some, you would be left with an obviously over-lined lip if you did it this way. So, choose a lip liner and lipstick that closely match each other or, at the very least, complement each other well.
There are also countless hacks online that will help you select the perfect lip color if you are stuck on which one is right for you. For novice lip overliners, take a look at the color of your natural lips and choose a neutral lip liner shade that's not much different in hue. That way, you can get comfortable with your desired lip shape before using bold shades.
Now for the fun part
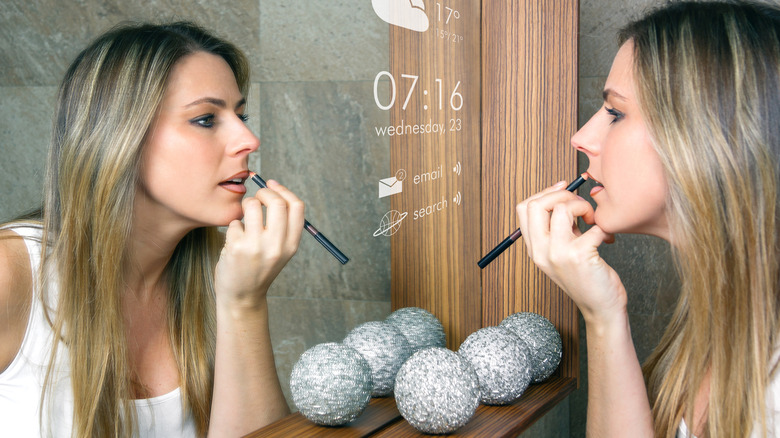
Once you've evaluated your lip shape and collected your products, you'll want to prep your lips using an exfoliator and lip balm to eliminate dead, dehydrated skin. This will ensure a smooth base for a more seamless application of lip products. Once that's completed, it's time to whip out that lip liner pencil.
For a naturally overlined lip, start at the corners of the mouth and work toward the Cupid's bow. According to Byrdie, if you start at the Cupid's bow, you risk unnatural-looking lines at the corners of the mouth once you move the liner down. Apply the product slightly above your natural lip, and be extra careful that you aren't overlining too much. For a symmetrical Cupid's bow, apply the liner in an "X" shape to the top lip, which will act as a guide when filling in.
Next, smooth out any harsh edges with your finger or a cotton swab to trick everyone into thinking you grew those lips yourself. You can fill in the rest of your lips with the liner and be done there or apply lipstick on top, ensuring it closely matches the liner. Lip gloss, especially lip-plumping gloss, also accentuates the lips and makes them appear more luscious, so feel free to pop some on! Remember, you create your own lip shape here, so practice until you find the right shape for you. By the end, you'll have Kylie-esque lips for a fraction of the price.