A Guide For Pulling Off Trending Fox Brows, According To Beauty Vloggers
Fox brows took TikTok by storm, with users daring to shave off the ends of their brows to achieve a lifted look (per Refinery29). The look is heavily inspired by Kendall Jenner and Bella Hadid but is generally popular among models.
As explained by YouTuber Alexandra Anele, the fox brow is angled and shaped so that the brow tail is higher than the inner brow, creating a lifted, straight look.
Some use brow tape or the ponytail pull method to achieve this look, aiming for a more youthful appearance (per HD Brows). Thread-lifts, a non-surgical procedure that uses a dissolvable thread to lift the brow, are also popular to get this foxy brow look.
While fox brows have thrived on TikTok, beauty vloggers on YouTube have also tackled the trend, demonstrating how makeup can be used to achieve the look. While some still opt to shave off the tails of their brows, we recommend trying out the look with concealer before committing to it.
Beauty vloggers are your best bet for a step-by-step guide on pulling off fox brows, so read on to learn what they say about getting the look!
Find your fox brow inspiration
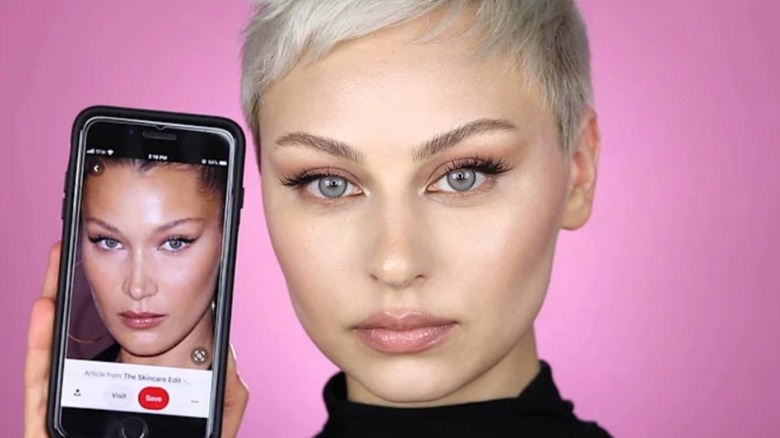
To start your fox brow journey, we recommend taking a note from beauty vloggers and finding some inspiration. Both Alexandra Anele and Snitchery recreate the fox brow style in Bella Hadid-inspired looks, but HD Brows also mentions that Kendall Jenner and Kaia Gerber are known for their lifted brow.
You can also scroll through Instagram or TikTok to find your fox brow inspo and use that to help guide how you'd like your own brows to look. We specifically like these looks from Katie Jane Hughes, Christen Dominique, and Alyssa Marie.
Gather your supplies
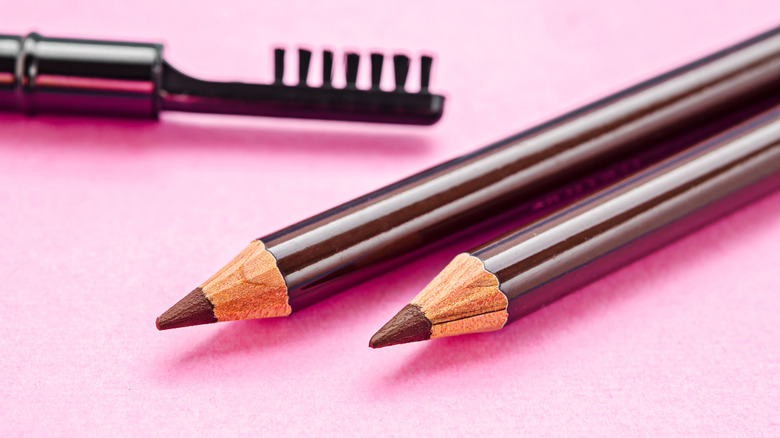
Next, you should gather the supplies necessary to recreate the fox brow look. Basic eyebrow makeup is likely to work here, but we do have some specific recommendations based on the tutorials from Alexandra Anele, Snitchery, mirellabellebeauty, and Madison Ashleigh.
An angled brow brush with powder or pomade is good for this look, but you can experiment with any brow product you're used to. Be sure to have a spoolie and some brow gel on hand. Concealer and a concealer brush will help you shape your brows, and are especially necessary if you're wanting to cover any eyebrow hair.
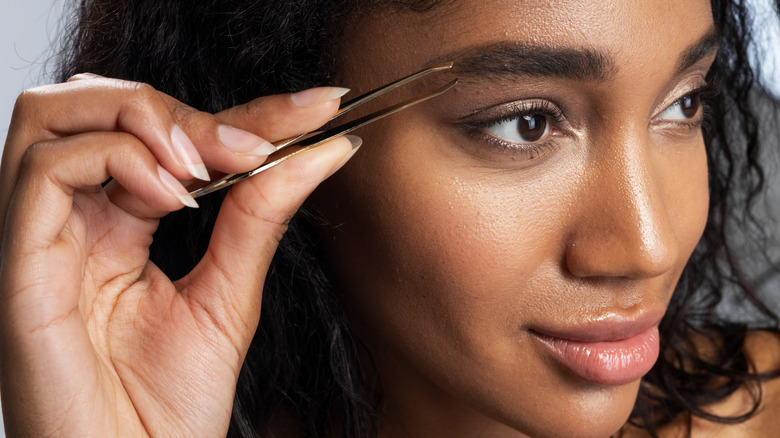
Optional: shave or pluck your eyebrow tails

As mentioned, many people shave off the ends of their brows to achieve the lifted, foxy brow look. This is an optional step; we don't recommend it if you're trying out the style for the first time.
However, if you are planning to shave your eyebrows, then we recommend taking a cue from YouTubers Madeleine Edwards and using a face razor or "defuzzer." This is safer than other razors and allows you lots of control when shaving your eyebrows.
Snitchery discusses how she shaves her brows in her own video, explaining that she removes all the hair past her natural arch, but you can go for something a little less drastic by following the tutorial from Edwards.
Brush your eyebrow hair upwards
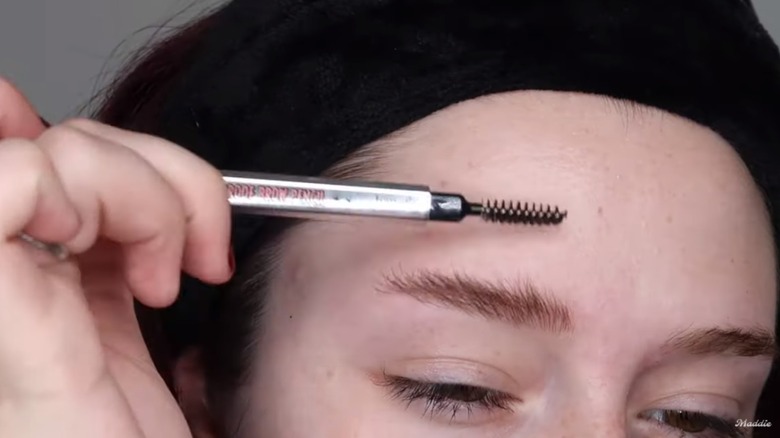
In her straight brow tutorial, Madison Ashleigh recommends brushing your eyebrow hair upwards as one of your first steps. This step will allow you to see and follow the underside of your eyebrow when recreating the fox brow look.
Alexandra Anele also explains that this will help create the angled look associated with the fox brow. You don't need to worry about ensuring that your brows stay brushed throughout the entire process, as you'll have a chance to re-brush them before setting them with brow gel.
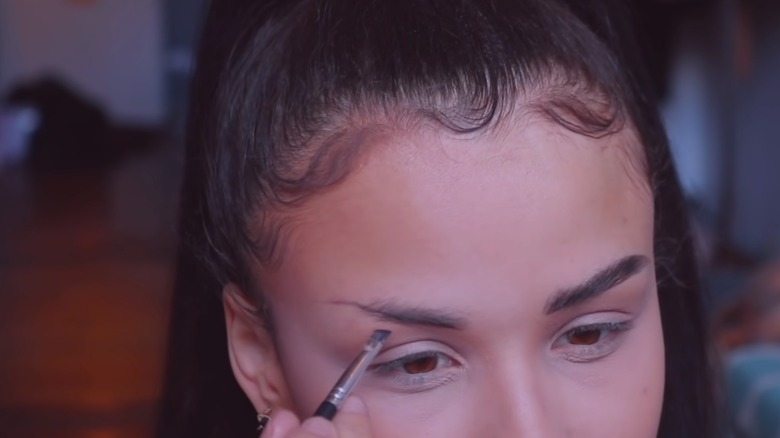
Underline the bottom of your brow

After you've brushed your eyebrow hair upwards, you can move on to actually drawing out the fox brow of your dreams. Mirellabellebeauty explains that you should start by lining the underside of your brow, beginning near the start of your brow.
If the natural shape of your eyebrow is pretty arched, you'll want to straighten out the underside during this step, but you don't yet need to take your product all the way out to the tail of your brow. For now, focus on straightening out any existing arch you have within the first inch or so of your brow.
Continue your underline upward, past your natural arch
Next, extend the underline past your natural arch. If you've chosen to shave your eyebrows, then you'll basically be free-drawing the rest of your brow at this point, as Snitchery does in her tutorial. Remember to draw upward to give your brow the lifted, foxy look.
If you're working with an existing brow tail, you can use your product to straighten and lift your brow shape, working with your brow as mirellabellebeauty does. If your natural or plucked brow doesn't allow for as much of a lift as you'd like, then you can follow the example from FWBEAUTY and disregard your existing brow by drawing your own shape.
Draw out the tail of your eyebrow
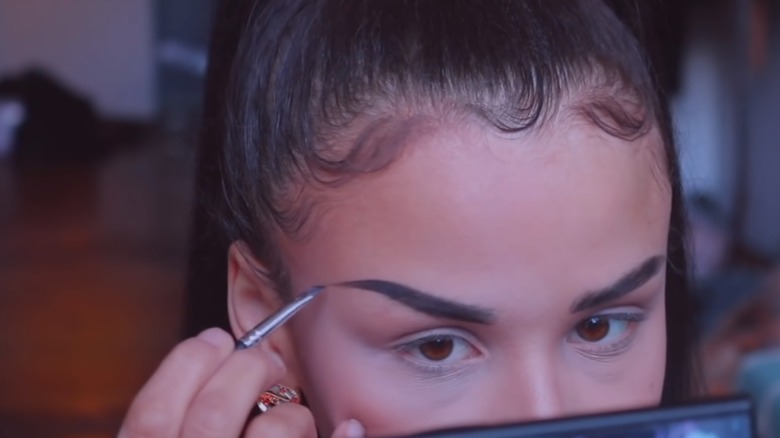
To achieve the fox brow look, the key is drawing the brow upwards, so that the tail will be higher than the starting point of your brow. Once you've drawn your brow line out past your natural arch, follow Snitchery's example and curve it slightly to create the underside of the tail.
Drawing a complementary line at the top of the brow will actually form the tail, which you can fill in with your brow product. If you're working with an existing tail, then you just need to shade it in at this point, shaping it to give your desired lift.
Fill in the rest of your brow
Next, you can actually fill in the remainder of your brow. Madison Ashleigh recommends using a spoolie to blend the existing product in the center of your brows. In this way, you can avoid caking or building up your product too much. Overall, you can keep your hand light here, as the fox brow look isn't usually heavy.
Mirellabellebeauty suggests targeting any areas where the hair is sparser than you would like, which is a good tip for any time you're filling your brows. As Snitchery does, you can also use this moment to add hairs to the front of your brow, too.
Use concealer to lift the brow
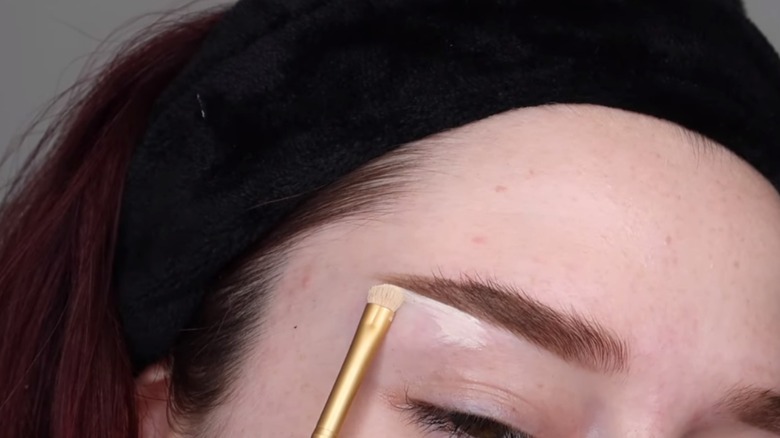
Once you've drawn and filled your actual eyebrow, you can use concealer to complete the lifted look. This is an especially helpful step if you aren't shaving your brow, as you can use a matte concealer to cover up brow hairs as FWBEAUTY does. Similarly, Snitchery takes this moment to cover up some eyebrow stubble that falls outside of her drawn brow.
For carving out your brows, Madison Ashleigh suggests making sure that your concealer brush is full of product, but stays sharp. Try pinching it at the tip, if necessary. Then, simply apply and blend your concealer at the underside, and even the top, of your brow.
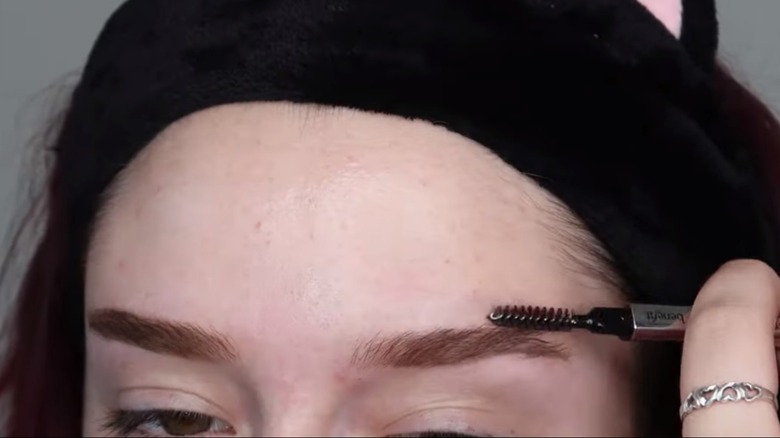
Set your eyebrow hair using brow gel
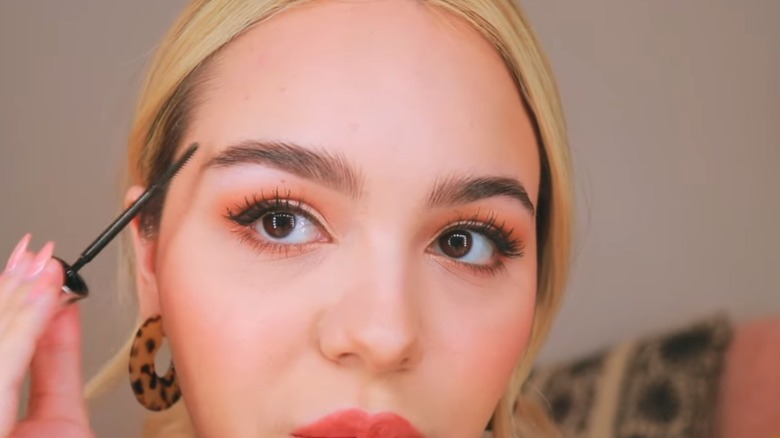
After concealing and sculpting, you can take the final step and set your brows with brow gel. As mentioned before, now is the perfect time re-brush your eyebrow hair before or with your gel to really make sure you get the shape and look you're going for.
For some finishing tips, mirellabellebeauty suggests using an outward and upward motion at the tail of the brow, to give a lifted, fluffy appearance. Madison Ashleigh also mentions that she sets her front brow hairs with tinted gel to give her brows a more natural, bushy appearance. Once done, you can enjoy your fox brows!