A Simple Guide To DIYing A Dip Manicure
We may receive a commission on purchases made from links.
A fresh manicure is the perfect way to finish your look and make you feel gorgeous. Nail painting has a long history, with accounts claiming that ancient Indian, Chinese, and Babylonians were pioneers of this practice (via How Stuff Works). In previous eras, specific nail colors and designs were reserved for the higher social classes and used as distinctive markers of power. While early nail polishes used ingredients such as beeswax, Arabic gum, and egg whites, new technologies and materials have revolutionized the way we do our nails today.
For example, dip powder has become a trendy option for nail coloring and is competing against other more popular techniques like gel. "Dip nails are lightweight and flexible like gel nails but durable like acrylics," Anna Parvatova, creative director of SNS Nails, told Women's Health. The result is vivid, long-lasting, and extremely memorable.
If you want to try it out yourself, we'll walk you through the ins and outs of using dip powder so that you can get the best results using this technique at home.
This is how dipping works
Using dip powder to color your nails is a convenient and fast way of achieving salon-level results. The technique involves utilizing two powders, a base and a color, and two liquids, a bonder and a top coat. Unlike gel manicures, dipping doesn't require UV light and air dries pretty fast. You end up with a durable set of nails that don't chip as much. "It's a great option for someone who works with their hands a lot or doesn't have the time to dedicate to weekly manicure maintenance," Juli Russell, a DIY nail expert for Sally Beauty, told Women's Health.
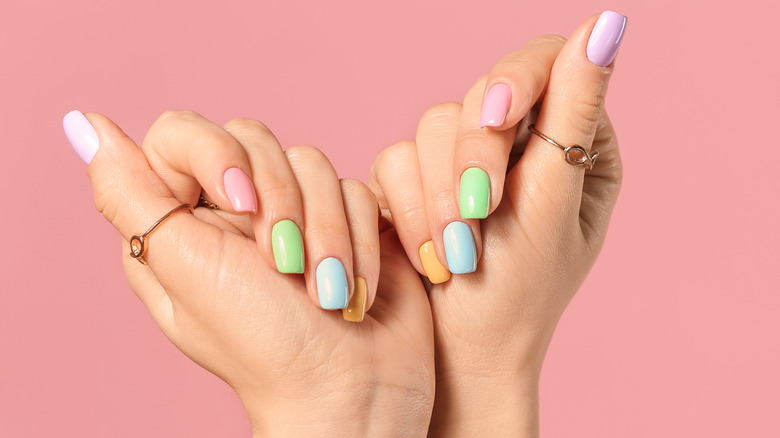
Dip powders come in a wide range of prices, qualities, and colors, so if you do your research, you're sure to find a brand that fits your budget and style. "With dip powder, the actual color of the clients' manicure is the color of the powder their nails are dipped into," Joy Terrell, owner of a luxury L.A. nail salon told InStyle.
Prep your nails carefully
Just like with any other nail coloring procedure, you must prepare your nails before using dipping powder. While many nail salons opt for cutting the cuticles in preparation for manicures, the American Academy of Dermatology Association strongly opposes this procedure. The cuticle protects your nails from bacteria and cutting it could lead to infection. Instead, opt for pushing back your cuticles and applying cuticle oil to keep your nails healthy. "Some of cuticle oil's benefits include building strong and flexible nails, promoting nail growth, and helping with the longevity of a manicure," Paintbox Nail Studios Chief Educator Evelyn Lim told Good Housekeeping.
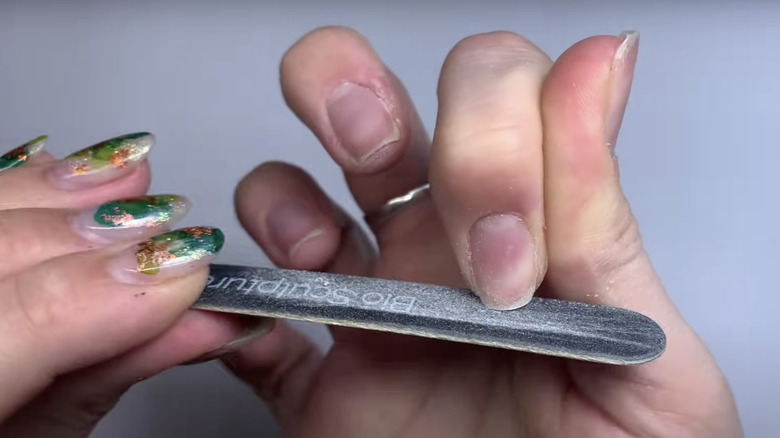
Cut and file your nails to your desired shape — any of them will look great with the dip powder technique. Then, make sure to clean your nails using cotton and 70% isopropyl rubbing alcohol tp achieve an even coat of color (via StyleCaster). Now it's time to start dipping!
How to use dip powder
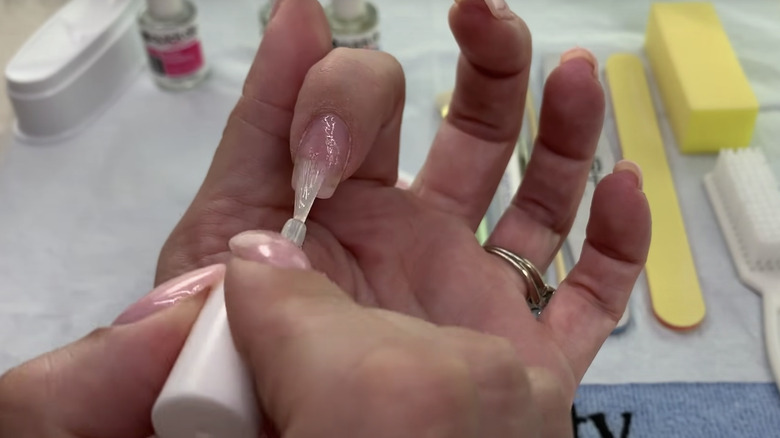
The first step is to apply the primer or bonder to one of your nails. It is recommended to work one nail at a time so that the product doesn't dry up and the powder bonds properly. Now, dip your finger into the base powder just right before touching the bottom of the powder container. Brush off the excess powder and repeat these steps on all the remaining nails.
If you are sharing the product with someone else, don't dip your fingers straight into the powder container as this could lead to the spreading of bacteria and fungi. "As we know from Seinfeld, double-dipping is never a good thing," dermatologist Dr. Dana Stern told InStyle. "The salons seem to be aware of this and are now either pouring the powder onto the nail, painting the powder on, or dipping the nail into individual disposable containers of powder."
Apply the color and designs of your choice
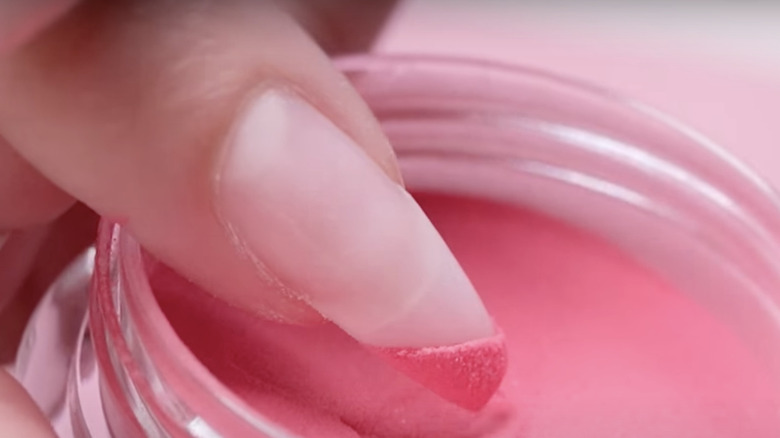
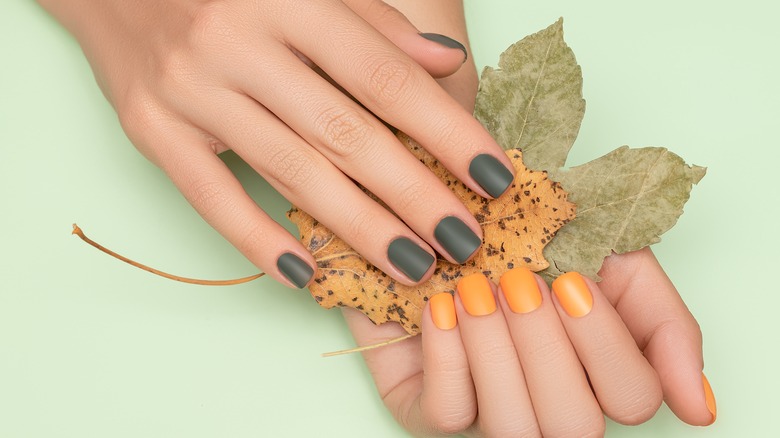
Once you have applied the base powder to all your nails, it's time for some color. Once again, apply the bonder to one nail and dip the nail in the color powder of your choice. Repeat these steps on all your nails. The opacity of the color will depend on the amount of powder you apply. For best results, dip your nails in the color powder at least two times. Remember that the more powder you apply, the bulkier your nails will look, so don't oversaturate the product.
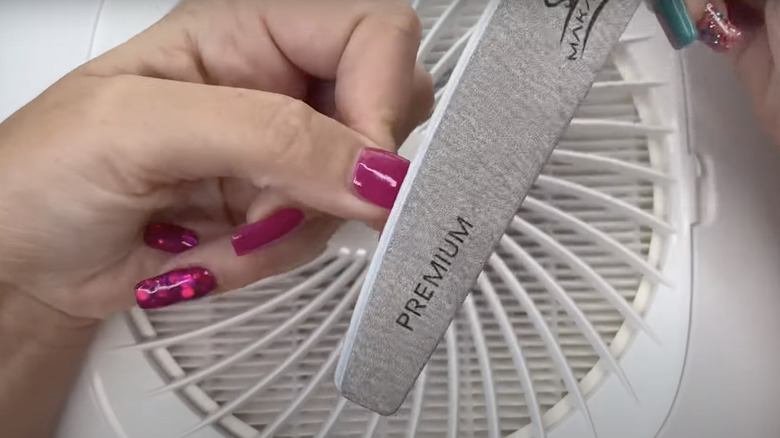
You can achieve plenty of trendy nail designs with the dipping technique. Kiara Sky Nails explains that to do this, you must apply the bonder in your desired shape or pattern. After all, the powder will only stick to the areas that have this glue. Once you get your desired color and design, file the nails to smooth their texture. You may use a 180-grit or electric file for best results, as recommended by Sally Beauty. Finally, apply a topcoat to add shine and seal the look.
This is what the aftercare and removal process is like
Dip nails can last between two weeks and a month, depending on your daily routine (via Byrdie). "Excess exposure to chemicals such as those found in household cleaners can lead to weakened enhancements or brittle natural nails. I always recommend wearing protective gloves to protect the enhancement, your natural nails, and the surrounding skin from weakening, which could lead to painful breakage," licensed nail technician Harli G told ELLE.
Once you 're ready to take the dip powder off, you must follow appropriate removal steps closely to avoid nail damage. Kiara Sky Nails suggests filing the top layer first and then placing acetone-soaked cotton balls on each of your nails, securing them with foil paper. After 20 minutes, check your nails. If there is any residue, continue soaking in acetone and use a cuticle pusher to remove it. "Restoring hydration after the treatment and during the wear time will help many problems arising from dip powder enhancements. Try to apply cuticle oils and high-quality moisturizers multiple times a day," Harli G recommended.