How To Straighten Your Hair At Home For A Fresh Salon Look
It's easy to rock your naturally wavy hair most of the time. However, after diving into the rabbit hole of TikTok, you may want to try a sleek new look that requires pulling out your flat iron. While it would be simple if you could just turn it on and straighten, the key to silky straight hair comes down to the prep work and technique.
Sure, getting a straight hair look isn't as intricate as a Dutch French braid, but you'll need to make sure the hair is clean and pre-straightened because clean hair is going to give you that killer shine. You'll also want to ensure you use the right setting and technique for your straightener. Be sure you don't damage your hair with the flat iron as well by following a few pro tips, from prep to sectioning to straightening. You'll be set by learning some simple beauty hacks to make sure you get party-ready hair without causing damage.
How to prep your hair for straightening
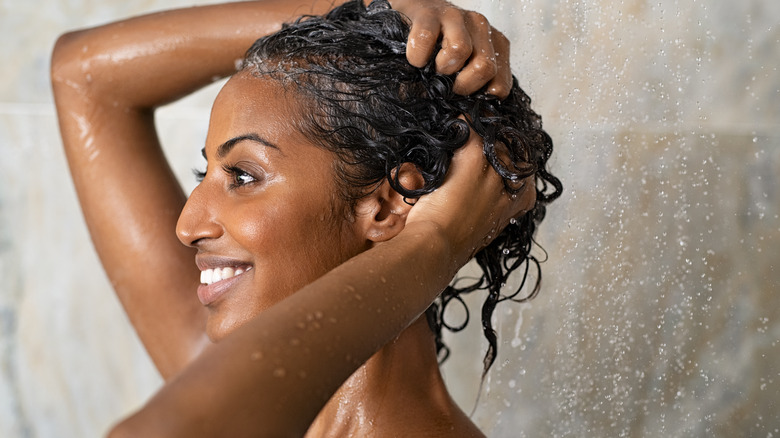
Just like your face needs to be primed for makeup, you want to make sure your hair is primed for straightening. This takes some prep work. Straightening works best on clean, just-washed hair. You'll want to wash your locks with a high-quality shampoo and conditioner first for the best results. It's also helpful to use one that has a bit of defrizzing power since you'll be adding a lot of heat to your hair.
If your hair looks a little limp and dry, you might also want to give it a little extra love through one of the best hair masks. Many commercial hair masks work well, but you can also create a DIY hair mask using olive oil and eggs. You'll need to beat the ingredients together first before adding it to your hair, starting at the ends. Let it sit for about an hour before washing it with a mild shampoo and conditioner.
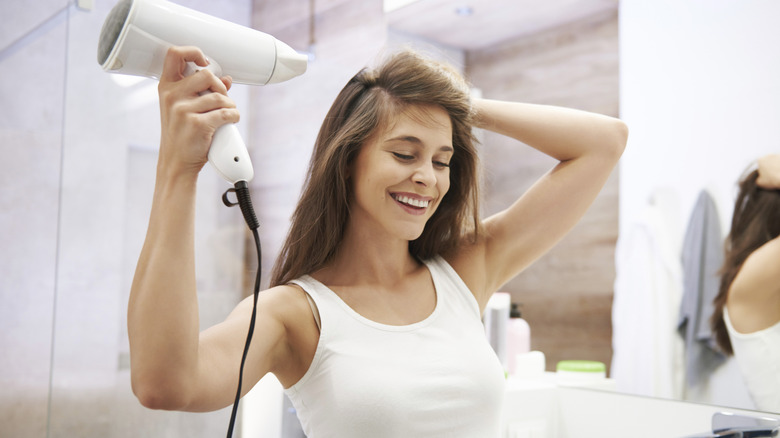
You can also try soaking your hair in milk for about 20 minutes if olive oil isn't an option. Once your hair is all clean and shiny, you want to grab your blow dryer and comb for some prep work.
Pre-straighten and section the hair
With clean and frizz-free hair, grab your brush and start removing any tangles. It's also beneficial to add a heat protectant or hair priming spray. It's an extra step to make sure the heat isn't going to harm your follicles and cause any more damage than necessary.
Running the comb through your hair and getting everything dry might be all you need if you have naturally straight hair. However, curly-haired individuals need to pre-straighten their hair to get the best results. Grab your blow dryer, round brush, and clips. Section off your hair into four to five different parts, and work through one section at a time. It's important to tip the blow dryer at an angle and lift the round brush as you pull the hair straight. It's going to straighten and add volume to the roots. Your hair might look a little wild at this point, but remember, it's a process.
Once everything is dry, it's time to section out your hair again. You can create as many sections as you choose, but remember, you're going to work from the bottom up. Knowing this, try splitting your hair down the middle and creating a bottom, middle, and top section on each side. Secure your sections into place with clips or other holders, and you're ready to turn your attention to the flat iron.
Choose the right setting on your flat iron
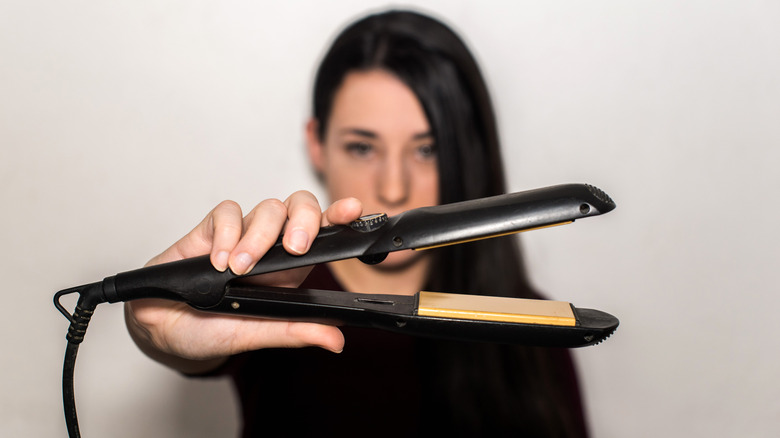
It's just as important to have your straightener clean and ready for action as it is for your hair. Therefore, you'll want to make sure you use the correct setting and start with a clean appliance.
You might not realize it, but hair primer or other products can build up on your flat iron. To make sure it's clean before you plug it in, look everything over. If it looks a little crusty, add a few drops of rubbing alcohol to a cotton ball or cloth. Rub it along the plate to remove any residue so you aren't adding it to your hair.
With a clean flat iron, it's time to set the heat. Straight hair is going to use a lower setting than wavy or curly hair. When you have fine, straight hair, try 250 degrees. You can crank it up to 300 if your straight hair is thick or coarse. Those with wavy to curly hair are going to look for a setting between 300 and 410 degrees. You'll want to use the lowest heat possible to achieve the smooth look you want. Salon owner Rashuna Durham tells Byrdie, "The flat iron process on straight hair is just to smooth the cuticle and get rid of any of those pesky little flyaways. Always start at a lower level and increase as needed." With your prep game on point, it's time to actually start straightening your hair!
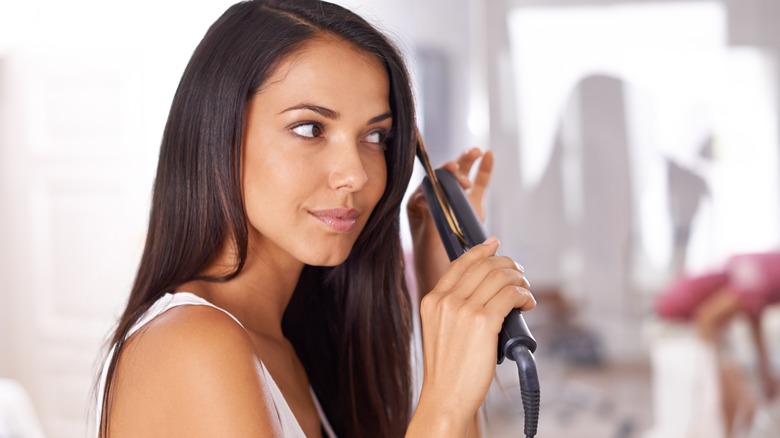
Best technique to flat iron hair

It's the moment you've been waiting for. Those smooth, luscious locks are about to come to fruition. It's essential to start at the bottom and work your way up the hair. So, you'll begin by straightening your lower section, then move to the middle, and finally, the top.
Pull out your clip and grab a small section of hair about one to two inches wide and a half inch or so thick, then clip the rest back up. It can be helpful to have a parting comb for getting those perfect sections. When it's time, put the straightener near the base of your scalp and pull slowly down the length of the hair in downward strokes.
A simple hack is to have a comb or brush in front of the flat iron to help you keep the hair taut and stop tangles from happening. It's also important to stay about an inch away from the scalp. The straightener is hot and will definitely burn if it gets too close. If you want to add a bit of an under curl as you straighten, turn your flat iron under at the ends.
Tips for flat ironing your hair

You've made it to the end of your flat ironing journey, and it wasn't too bad. Your hair looks flawless, but you noticed a few stubborn areas that don't want to cooperate. If you find that one pass with the flat iron isn't getting you the results you crave, you might want to try less hair. Giving that stubborn section of hair another swipe with the iron for that perfectly straight look is also helpful.
You might find that you have a few flyaways after the whole flat ironing process is complete as well. Rather than just dealing with them, try finishing oil or hairspray to help you deal with frizz or flyaways. Just add a bit of the product to a boar bristle brush and comb it through your hair. This gets the product in there without your hair looking stiff.
Straightening your hair isn't hard, but it does take some finessing to get that perfect straightness you crave.