4 Easy Steps To DIY Your Own Trendy Patchwork Clothes
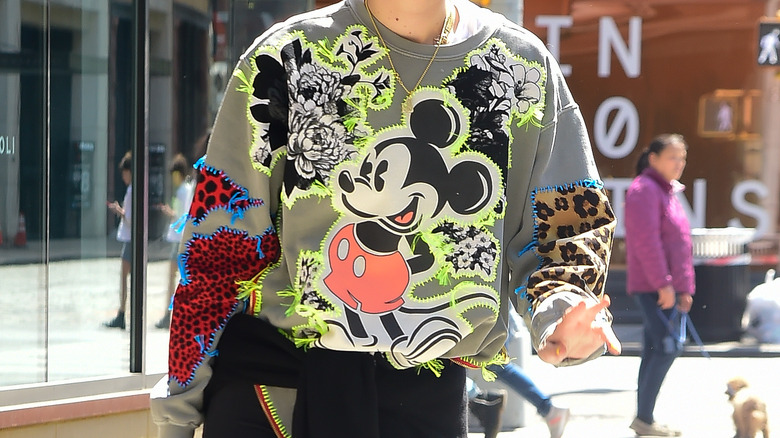
Creating your own distinct style can be a lot of work, from planning out each different piece to accessorizing. However, sometimes you want your clothing to be more original than pairing a blazer and belt. Your outfit must have a retro look that says a lot about your personality. Patchwork clothing can be just the thing you're looking for.
Whether you're going for military chic or vintage queen, you can get the style you want by adding patches to your jackets, jeans, sweaters, hats, and bags. Using patches, you can emulate luxury clothing brands without digging deep into your bank account and give those clothes just sitting in your closet a new look. Plus, DIY patchwork clothing designs can be a fun way to spend an otherwise dull rainy day. Keep it simple by following a few steps for how to add patches to your clothing with nothing more than an iron and a little creativity. Get a few iron-free ways to patch out your wardrobe without feeling the heat.
Lay out your design and check the material
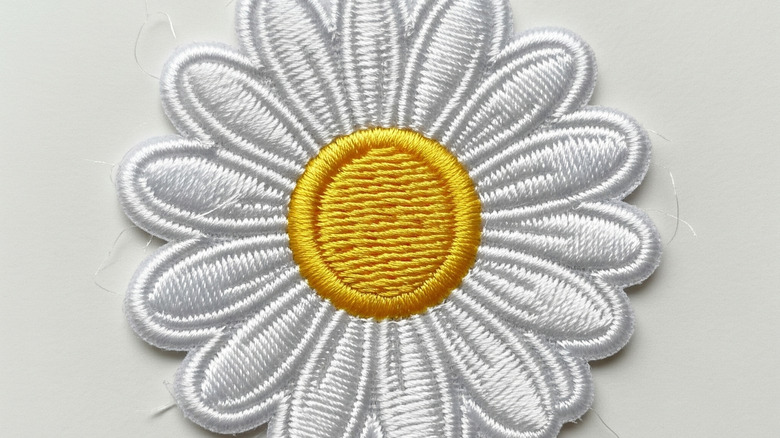
Adding embroidered patches to your clothing is a fun and easy way to make your style your own and add your attitude to a hat, shirt, bag, or jeans. However, you don't just want to slap on a few patches and call it good. The fun of creating your patchwork clothing is the planning involved.
Patches can run from very small to taking up the back of an entire jacket. So, select the patches you will work with and possibly create a rough stretch of the look you want. For example, are you trying to make a jean jacket look designer by adding patches, or are you trying to show your sassy side? If the creativity is dwindling, get inspired by looking online.
With a theme in mind, figure out what you will add the patches to. Iron-on patches adhere well to denim, cotton, and polyester; however, blends, synthetics, and leather are not designed for iron-on patches. Placement is also essential since you want the patches to draw attention. Consider using a measuring tape and pins to ensure you get everything laid out perfectly before application. After checking in the mirror, it's time to create.
Find the right temperature
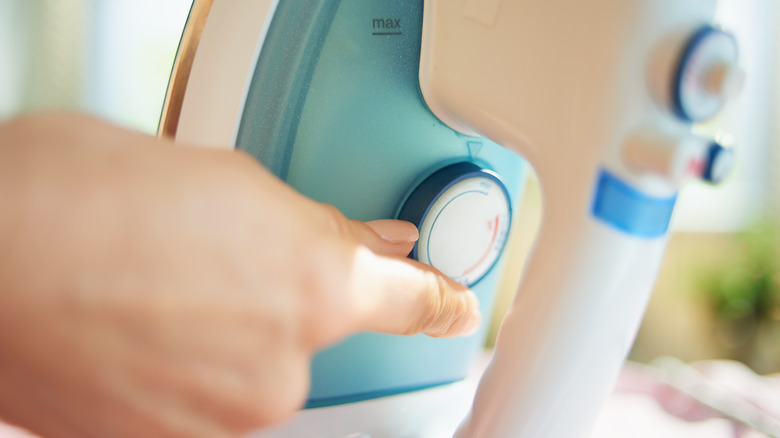
When it comes to ironing on your strategically placed patches, choose a heat setting that is high enough to melt the wax and adhere the patch but isn't so high it's going to end up harming the fabric. The best thing you can do before turning on your iron is to look at the care tag of your clothing. The tag will typically have the maximum heat you should use. For example, the Speed Queen iron recommends using the highest setting of 150 to 200 degrees for denim and cotton materials. However, it only recommends using between 110 to 150 degrees for polyester materials, but this varies by iron. Grab your flat iron for this step if you don't have an iron.
Additionally, having some buffer between your patch and the iron is beneficial. Those that are experts in the laundry ironing game might have a press cloth; however, you can use a pillowcase, handkerchief, or even parchment paper to provide an ironing buffer. Now that your iron is all heated up and ready for action let the ironing commence.
Iron on the patches
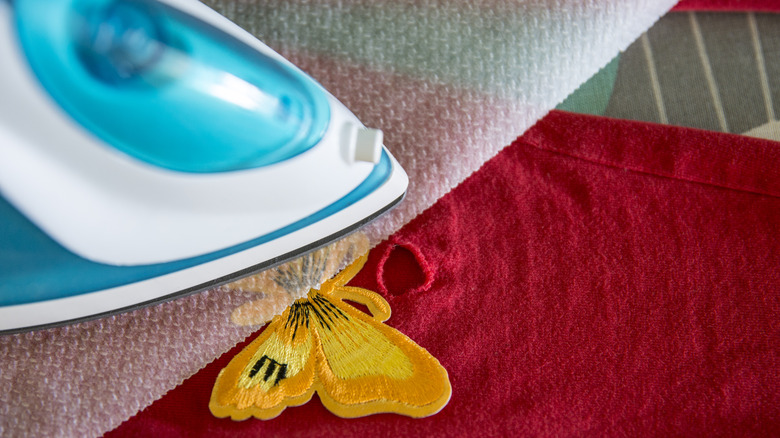
There's no going back now. You've put in the work to make sure your DIY patchwork creation looks perfect, so now it's time to adhere those patches. Grab an ironing board if you have one available, but if not, opt for a flat surface like a countertop. If you aren't using an ironing board, lay a towel on your surface to avoid any scratches.
Quickly use fabric chalk to mark the area of the patch before removing the patch; chalking helps to ensure your placement stays on point. Use the iron to heat the area for about 20 seconds, making sure to always move in small circles. Keeping it in one area can cause scorching, and no one wants that. Put your patch back in its position and add the buffer over the top of it. Using circular motions, start from the middle of the patch and work your way out to the edges for about 30 seconds.
It's time to flip the garment and hit the patch again from the other side. Using the same method, run the iron over the area for about 20 seconds, ensuring the wax is melted into the material. After a few swipes, return the fabric to its original position and give everything a much need rest. Remember to keep that iron on because you might need to use it again.
Rest and repeat to make sure the patch is bonded

Getting to this step has taken a bit of work. This is especially true if you decided to add a bunch of fun patches to your sweater or skirt. However, most of the hard work is done at this point; the last step of the patch-adding game is mostly just testing your patience.
After you've added the patches, wait for about 10 minutes to allow everything to get nice and cool. Start by checking all the edges of the patches to make sure none of them are pulling up. Mark the ones you notice have issues with a pin or fabric chalk. Now slip the fabric on and move around in it. Pay attention to the patches and notice any weird flexing that indicates they aren't fully adhered, and mark.
Pull off the fabric and repeat the ironing steps if needed. Make sure to use a lot of pressure this time to make that wax truly adhere to the fabric. Pressure is going to be important when you're hitting the inside of the fabric. If the patch is old or just not adhering the way it should, find out a few alternative ways to get your patch to stick.
Alternative ways to adhere patches to clothing
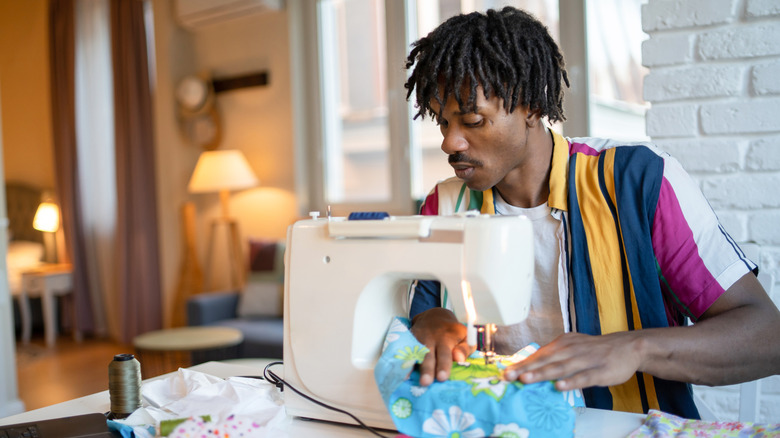
Not all fabrics can take the heat of an iron, and some older patches might not adhere to the fabric fully. While you can bust out your sewing machine or a needle and thread, punching through thicker materials can be a big pain. Thankfully, a few other options are at your disposal, like fabric adhesive or glue.
Simply apply the fabric adhesive or glue to the patch and press it into the clothing. Let it dry for at least 24 hours before you wear it. Just be aware that fabric glue isn't as permanent as fabric adhesive. You can also try using Velcro. You'll have to sew the Velcro onto the patches and the fabric, but then you'll be able to move them around on a whim.
Patches are a perfect way to add a little bit of flair and sass to any outfit in your closet or help you to hop on those vintage trends. And creating a DIY patchwork outfit only takes a few patches, an iron, and a strong sense of adventure.