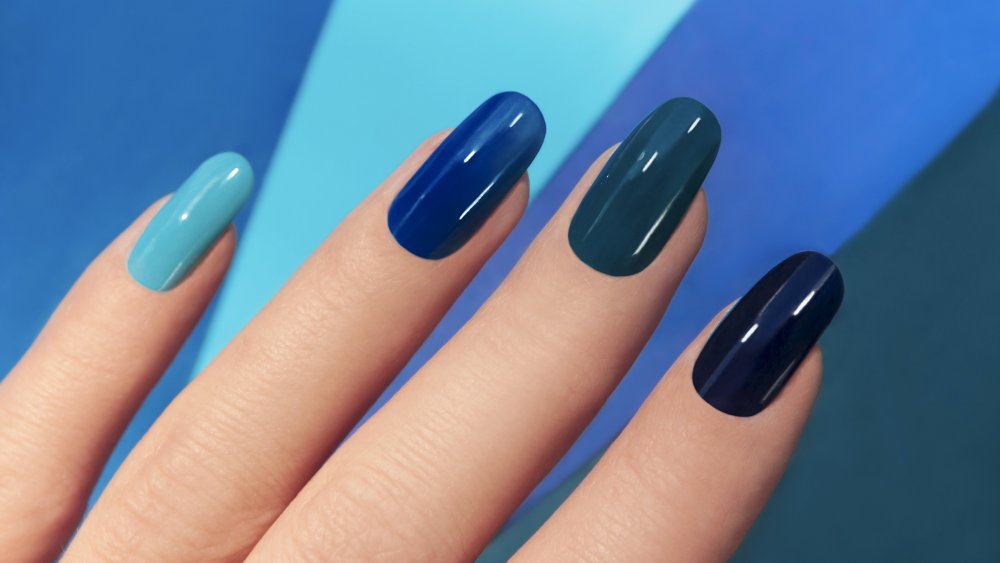
You've Been Removing Your Gel Nails Wrong This Whole Time
While gel manicures are one of the best manicures money can buy, the same can't be said about their removal. "Having a long-lasting manicure is always the dream, but when they start to look dull after 3 week[s], the last thing you want to do is sit in a salon chair and pay to have someone drill away at your already weak nails," award-winning nail artist and Naio Nail ambassador, Kirsty Meakin, told Glamour. And we couldn't agree more. Worse still, is not being able to resist the urge of picking them off at home when cracks start to show.
The first thing you need to do when you're ready to remove your gel nails is buff them. "Start off by buffing the nail," advised Meakin. "You're not buffing to remove the gel, but to create a rough surface." Basically, by doing this you're trying to remove the top layer.
Never force gel off your nails
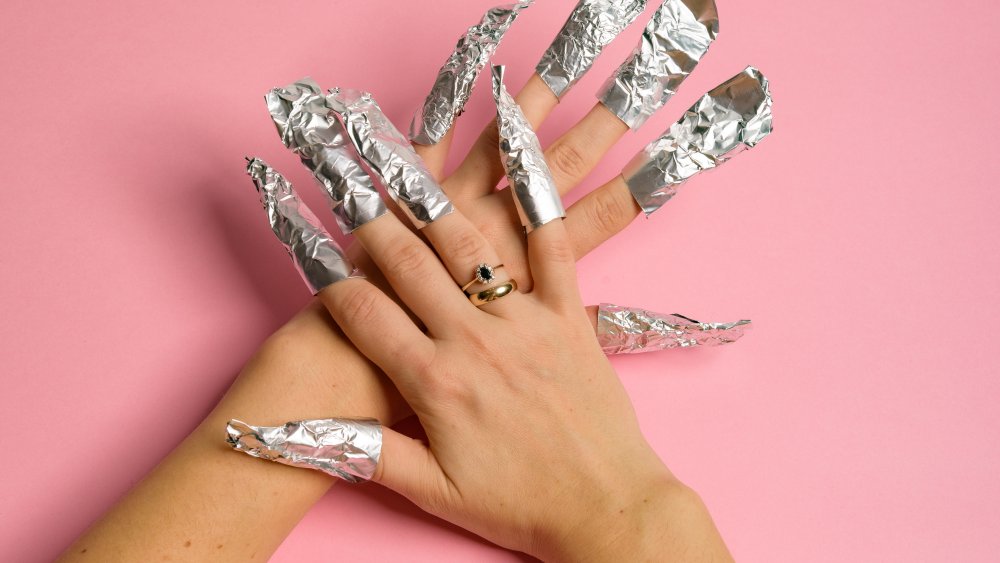
The second step is to do as they do in the salon. Soak cotton balls or pad in an acetone-based nail remover, apply to the nail, then wrap your fingertips up using aluminum foil. You'll need to keep it on your nail for a minimum of 10 minutes in the hopes of breaking down the gel that is remaining. Glamour recommends applying Vaseline to the nail bed beforehand to protect your cuticles and skin.
After about 15 minutes, you can remove the foil and pads. You should find that the gel has softened and can be removed with the assistance of a cuticle pusher. "If the gel is still quite solid then you'll need to re-soak," warned Meakin. Don't force it off or you may cause damage to your nails.
Once the gel has been removed, it's important to apply a nourishing oil to your nails and hand cream to your hands, to replace any lost moisture. If you treat yourself to gel manicures regularly, it's also a good idea to start using a nail strengthening product weekly. "This can prevent breakage (especially if your nails are already weak) and protect from any further damage caused by the gels," explained Meakin.