What You Should Know Before Giving Yourself An At-Home Spray Tan

A natural-looking glow is the holy grail of all tan-seekers. It may seem like an impossible task, especially if you've previously fallen victim to an Oompa-Loompa spray tan or been branded by noticeable streaks (via Glamour). But how can you maintain the even, natural tan of a celebrity without flying to the Bahamas every weekend? Fake and bakes are thankfully trapped in the early aughts time capsule forever and regular spray tan salon visits can be a danger to your bank account (via Aviva). You may be feeling lost and confused or even *gasp* pale. Luckily, we've come up with the next best option to get your bronze goddess fix: a self tan.
It's okay to be wary of taking on this goliath task alone. Who hasn't had a mental break down in the bathroom trying to reach their upper back with a St. Tropez tanning mitt? But remain calm. We're here to walk you through every last step necessary in creating a perfect, lasting glow.
There are a lot of tanning solutions to choose from

Okay, you're already hyperventilating. With multiple beauty magazines claiming this self-tanner is superior to that one, it's easy to get overwhelmed. But, really, all you need to focus on when choosing a solution is what kind of shade you're looking for as an end-result. Dihydroxyacetone or DHA is the chemical in self-tanners that reacts with your skin's amino acids, thus turning it darker (via Prevention.) The most natural-looking tanning solutions use DHA made with beet or apple sugars instead of carrots (which can leave skin with that obvious orange color.) You'll also want to ideally go with an organic tanning solution free of toxins and parabens. Many tanning solutions contain alcohol and formaldehyde, which can dry the skin out, resulting in more streaks (via The Zoe Report).
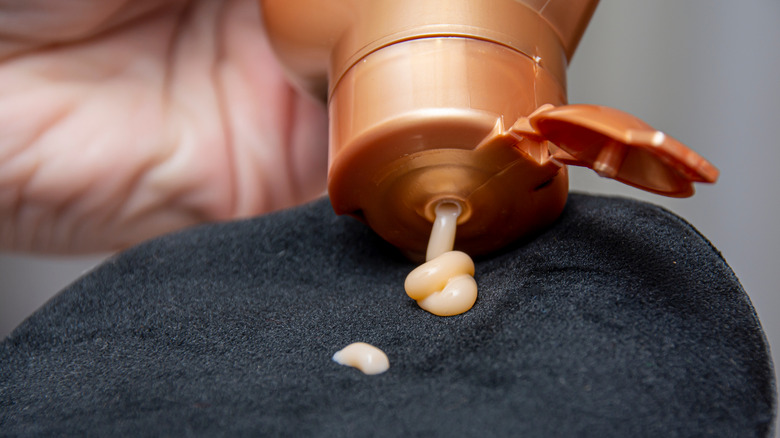
Another pro-tip is to look for solutions with a color guide to avoid blotches and streaks, which may show up hours later (via Marq'd). Once you've chosen your tanning solution, decide how you want to apply it. At home-tans come in many different vehicles including mousse, lotions and sprays (via Real Style.) Though an at-home spray tan machine may seem excessive, it's a worthwhile investment if you plan to regularly look like you stepped off a beach in the South of France.
Other optional items you may want to have handy are a tanning mitt and/or blending brush, a cheap towel you don't mind destroying, a hair cap, and booties.
Exfoliate and moisturize your skin
Once you've gathered all necessary supplies, you're ready to prep your skin. Exfoliating is an essential step in ensuring your tan remains even and long-lasting. Removing dead skin cells, especially around thicker skin, like joints, will prevent the tanning solution from over-concentrating in one area (via American Academy of Dermatology.) To exfoliate your skin, simply choose a cleanser with glycolic or salicylic acid and apply it to your skin using a loofah, washcloth, or textured glove. St. Tropez brand ambassador Sophie Evans urges all tanners to choose an oil-free exfoliator. "Oils left on skin can create a barrier," warns Evans, which can produce an "uneven self-tan development" (via Allure.) And be sure to exfoliate BEFORE shaving to avoid any razor burn or bumps (via L'Oréal).
After exfoliating, you can move on to the final step before applying your solution: moisturizer. Be sure to apply moisturizer and/or barrier cream to completely dry skin as well as joints like ankles, knees and elbows (via Allure). Moisturizing cuts down on brown and orange patches which, again, will give away the fact that you're not Giselle Bündchen in hiding!
Work from the bottom to the top

It's finally time to tan! But where should you begin? The key is to break down your body into segments. Director of Education at Million Dollar Tan, Renee, recommends beginning with your legs. Be sure to finish one segment before moving on to the next and don't forgot the back of your legs! Next, you'll continue moving up to your stomach, hips and glutes. Check out your tan from all angles before continuing on to your arms and chest (via YouTube).
Getting your back can be difficult, so if you don't have a roommate or partner willing to help, you may want to look into getting creative. Self-tanning expert Nichola Joss even recommends starting in the kitchen. Joss urges tanners to "get a long-handled wooden spoon, put a tanning mitt on the spoon end, then tie it with a rubber band" (via Allure.) If that sounds too intricate, you may want to purchase a back applicator.
From there, you'll continue up to your neck, finally ending with your face, hands, and feet. Avoid knuckle streaks by bending fingers and toes into claws (via Cosmopolitan.) Once you start confusing yourself with Megan Fox, you're ready to move on to the final step.
Do a final check in good lighting
Now that you've completed your application process, you're almost ready to debut your glow. The final step in creating the perfect tan is correcting any mistakes you missed in the first go-round. Before you put away your applicator and solution, take a long hard look at yourself in good lighting. This is your last chance to fix any glaring mistakes. If you catch a glimpse of a streak, go over the problem area with a blending brush, or, if necessary, a baby wipe.
Once you feel confident and comfortable with your tan, the only thing left to do is wait. Depending on which solution you used, you'll want to wait at least four to eight hours before showering (via The Fashion Spot.) After you've reached the allotted time, rinse off any excess solution and voila!
There you have it. A perfect self-tan done in the comfort of your one home. You'll be turning down "Playboy" in no time.