How To Properly Clean Your Dryer
We may receive a commission on purchases made from links.
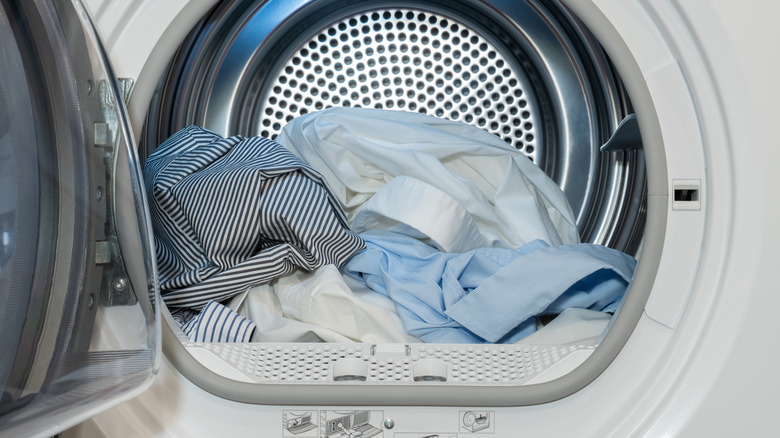
When it comes to cleaning, there are certain areas of the house that practically scream "clean me now," like the kitchen floor or sink, while others hide silently in the background. Your dryer serves as the perfect example of one of those "other" areas. Regardless of where yours is located in your home, your dryer probably isn't an appliance you think about every day — unless, of course, you do laundry every day.
Even for those who do use it every day, not everyone knows how to clean a dryer or what parts to clean, aside from the lint filter. Some people don't consider a dryer an appliance that requires regular cleaning, but the truth is, there are actually several components of a dryer that should be checked and cleaned regularly (via Today). That is, if you want your dryer to work efficiently for as long as possible.
According to Whirlpool, cleaning your dryer regularly provides a number of benefits, including reducing fire hazard risks. If you've never thoroughly cleaned your dryer before, the following tips will help you know what tools to use, what parts to clean, and how often to clean them.
Start by cleaning the lint filter and housing
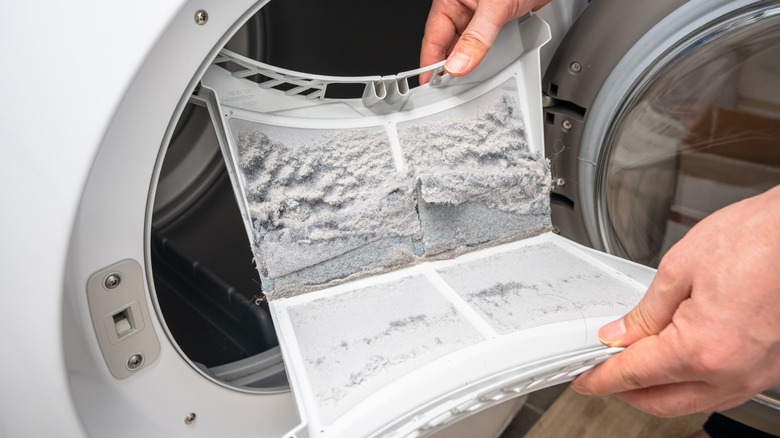
You certainly don't have to start the dryer cleaning process with the lint filter, but since this area typically doesn't involve any tools, it's a great place to start. It's widely recommended that the lint filter be cleaned after every load of laundry to help dry clothes faster, but Mr. Appliance mentions a few other benefits. For example, it can reduce your energy bill and even extend the life of your dryer.
According to a Consumer Product Safety Commission opinion forum survey, 68% of respondents clean their lint filter after every laundry load, as recommended. If you would be part of the 32% group of respondents who don't clean the lint filter regularly, you can change that today. Cleaning it is easy. Simply remove the filter from the housing (the slot) and use your hand to remove any lint buildup.
Before placing the filter back in the housing, clean the housing with a vacuum crevice tool or brush (per Whirlpool). If you don't already have these items on hand, you can purchase a dryer cleaning kit at your local home improvement store.
Site note: If you use dryer sheets or fabric softener, you might find a cakey residue, in addition to lint, on the filter (via CNET). You can remove this residue by soaking the filter in hot water and dishwashing soap, and scrubbing it (per Whirlpool). Just make sure the filter is completely dry before placing it back in the housing.
Clean the dryer drum and exhaust system
The dryer drum is the large cylindrical part of the dryer that rotates the clothes. You might find dog hair, dirt, or other residual particles along the walls of the drum (via Whirlpool). To clean it, use a microfiber cloth to wipe the walls and a vacuum, if necessary.
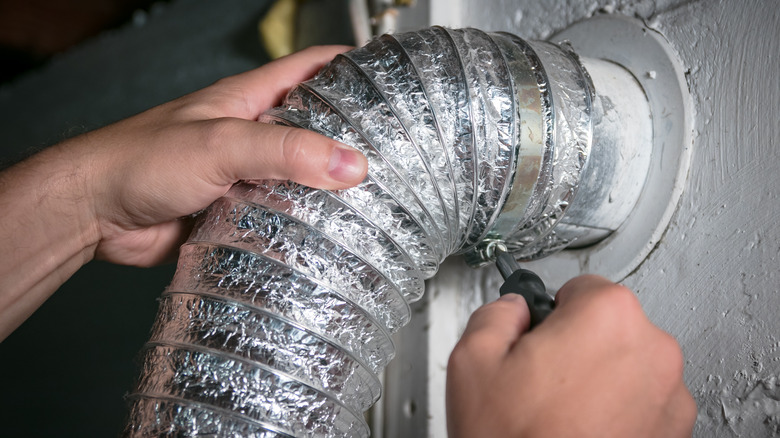
To clean the exhaust system (interior and exterior vents), unplug the dryer and pull it about 12 inches away from the wall (per Home Depot). Use a screwdriver to remove the clamps from the vent duct (large silver tube). For the next step, Home Depot recommends the use of safety gloves. Reach your hand into the duct to remove any large lint balls. Then, use a dryer cleaning brush or flexible vacuum hose — or both — to remove whatever lint or residue remains. Repeat these steps with the wall vent.
The exterior vent is usually located outside along the side wall of a house and can be cleaned the same way as the interior vent duct, but you don't need to remove anything (via Whirlpool). After the exhaust system is cleaned, reconnect the dryer duct and plug the dryer back in.
As part of a dryer deep cleaning, Bob Vila recommends cleaning the lint filter, drum, and exhaust system every three months. Whirlpool recommends cleaning the dryer drum as needed and the exhaust system every two years. And remember, the lint filter should be cleaned after every load of laundry (via Home Depot). Happy cleaning!