How To Straighten Your Hair Without Causing Damage
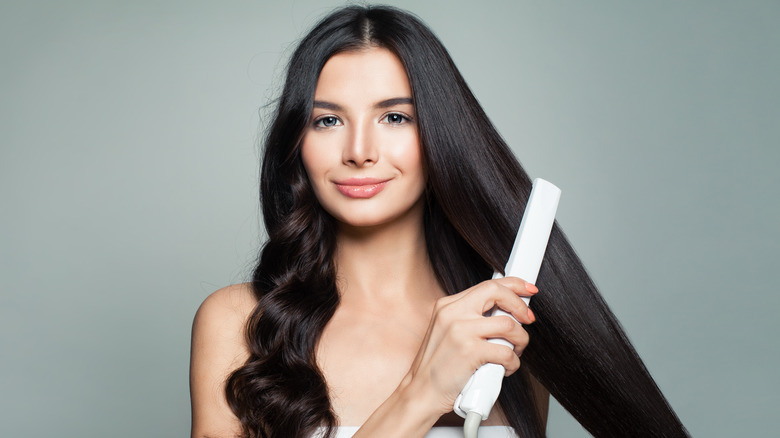
Sleek, chic, shiny, smooth — more than a tongue-twister, these are #hairgoals that are achievable if you learn how to straighten your hair without causing unnecessary damage. Tools and methods have thankfully improved since the not-so-distant past when people would flip their hair onto an ironing board and literally iron it out (yikes). Even with today's fancy straightening implements, though, there's a risk of stripping hair of moisture, breaking strands, and weakening the hair shaft. But, not to worry — there are just a few simple tricks of the trade to keep in mind that will help ensure the smoothest sailing (and also hair).
Whether your preferred method is blow drying, using a hair straightener, or even going heatless, there are some straightforward processes and hair-nourishing products — starting from shower to finished look — that are easy to employ to help get you that flawless finish while saving your strands from unnecessary harm. Once you get the process down, it's simple to achieve the damage-minimizing, straight-hair style of your dreams.
Use the right silicone product at the right time
If you check your shampoo bottle, you may find silicone listed in the mix of ingredients, especially if the product is geared toward smoothing or firming curls. Chemist and founder of CurlyChemistry, Tonya Lane, told Shape the purpose of including silicone is "to help smooth the cuticle [the outermost layer of hair] to decrease tangles, impart shine, prevent heat damage, and provide a beneficial film." Though the film seals in moisture, it can also result in product buildup that's tough to remove — and actually makes it difficult for hydrating products, like conditioner, to absorb.
The trick is to find a water-soluble silicone — one that can be rinsed away — and use it as the final product in your routine instead of before using conditioner, finishing serums, or mists. Laura Sagen, founder of The Hair Fuel, told Shape that ingredients with the prefix "PEG" signify water-soluble silicone, like PEG-8 Dimethicone or PEG-12 Dimethicone. Words that end in "cone" tend to signify a non-water soluable silicone. This includes Cyclomethicone, Amodimethicone, and — what lurks in oodles of products from shampoos to serums — Dimethicone and Dimethiconol.
Long story short, silicones can have beneficial effects, especially when it comes to straightening with heat. Just be aware of what kind you're using and when you use it.
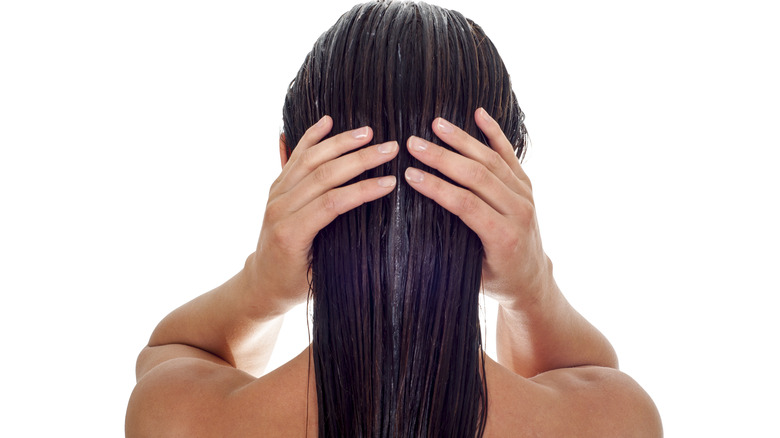
Let your hair dry completely before straightening
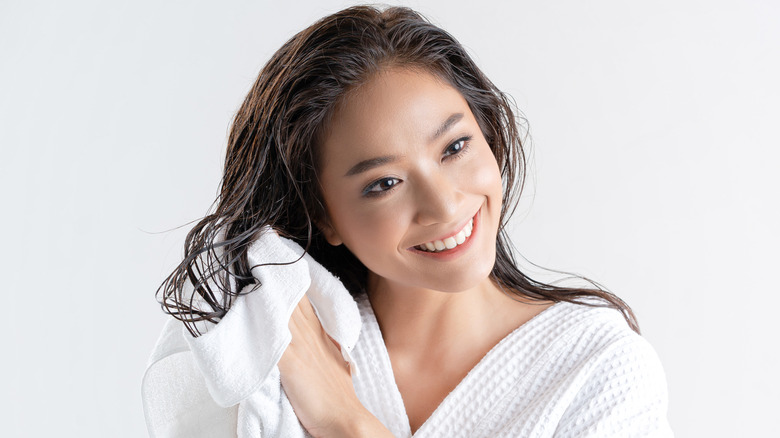
In general, wet hair is more at risk for breakage because it's more elastic than when dry. This is true whether you're brushing it or doing a vigorous towel dry (via Self). In fact, hair-care aficionados these days recommend forgoing the traditional towel dry altogether and instead using a microfiber cloth or T-shirt to gently blot and squeeze the water out. This is believed to result in less damage and less frizz.
The biggest wet hair no-no of all, though, is getting to work with a flat iron while there's still moisture in your strands. If you've ever heard the sizzle of hot plates on wet locks, that's a telltale sign that you're causing damage. The steam released when flat-ironing wet hair causes the hair cuticle to bubble and warp, resulting in tiny blisters. Furthermore, the wetter your hair, the longer you'll have to use your hot tools to get a finished, straight, dry 'do, and less time with the heat equals less opportunity for damage — it's a win-win.
Divide and conquer by straightening your hair in sections
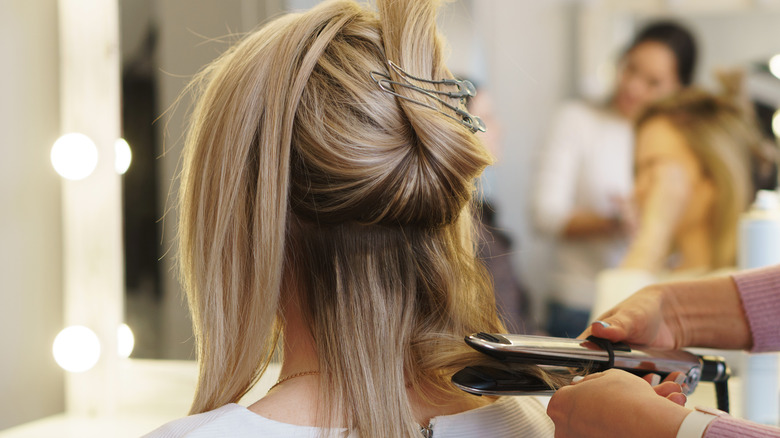
Having a plan is a good thing, and this is definitely true when it comes to straightening hair without causing damage. According to an expert at Vidal Sassoon, it pays to take your time with this process — you'll reap salon-worthy rewards.
Begin by sectioning hair into three big chunks. With your favorite hair-parting tool (the pointy end of a fine-tooth comb works nicely), start at eyebrow level on one side and then go around the back of your head to the other. Try to create straight lines when parting your hair. Clip this first section atop your head and move to the top of one ear and go around to the other ear to make a middle section. Once you've clipped that section, you're left with the bottom section — this is the one you'll start your styling with. Depending on your hair type and the style you're after, you can further divide each of these sections. Four to six smaller divisions per section tend to work well.
Pull hair taut before straightening and move quickly
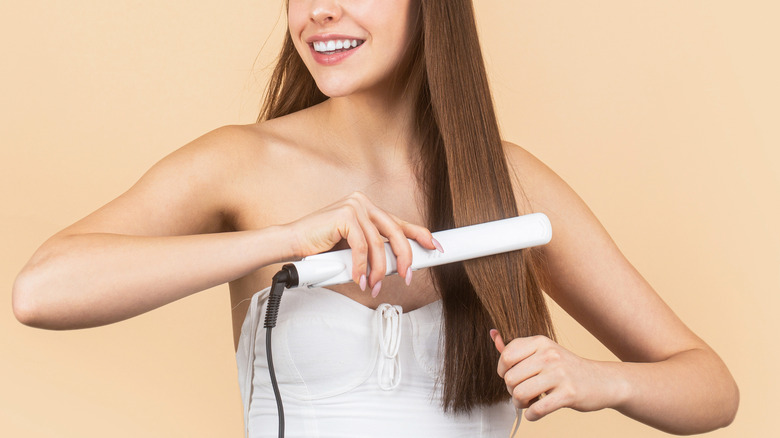
If your hair is all loosey-goosey when you run the flat iron over it, the process just won't be as effective. Think about it — when you pull hair tightly, it becomes straighter. This gives the iron an easier time achieving the smooth, sleek look you're after. Having your sectioned-off hair pulled nice and straight when you're styling, working from root to end, should also result in fewer passes with the iron. Fewer exposures to heat mean less damage.
When bringing the heat (so to speak), the less time it spends on your hair, the better. "If you are using a curling or straight iron, you should probably not use it for more than three or four seconds [per section]," dermatologist Carolyn Jacob told WebMD. That is enough time for your flat iron to have an effect on your hair without getting into singe territory. After those few seconds are up, move on to the next piece. If the section you're working on isn't as straight as you'd like, you can give it another pass, but keep in mind you want to spend the absolute least amount of time applying heat as possible to achieve the look you want.
Use the lowest heat setting you can
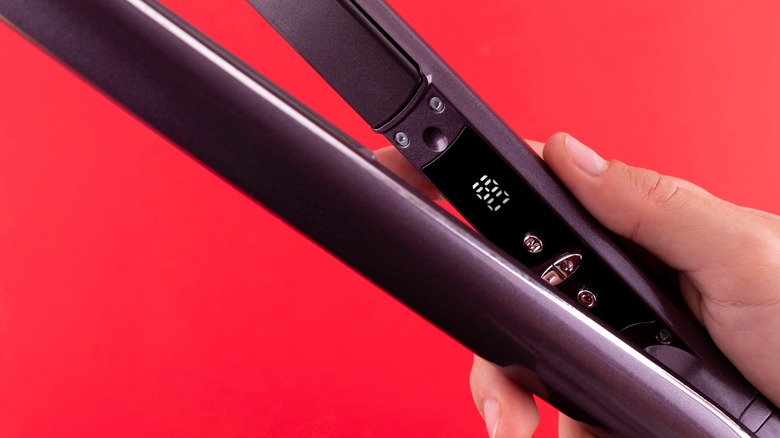
The higher the temperature of your styling tool, the more risk there is for damage. Whether you just got a new flat iron or have been using the same straightener for years, it's worth experimenting to see if you can attain your lewk on a lower setting. Flat irons often have temperature settings ranging from 140 to 450 degrees.
Depending on how fine or thick your hair is, your needs may vary. Nevertheless, the sweet spot tends to be in the mid-200s to mid-300s (via Byrdie). If you have to go over your hair too many times to get it straight, you'll need to up the temp; otherwise, you'll risk unnecessary damage from all those passes. Baby-fine hair or strands that are damaged or color-treated will typically be fine on the lower end. For hair that's particularly thick or coarse, 375 degrees may be the ticket — but ease your way up before deciding. This is especially true if you've already blow-dried your hair or don't have naturally wavy or curly hair.
"We must remember there is no need for extra heat if your hair is already straight," Rashuna Durham, owner of the New York hair salon Shuna Hair Studio, told Byrdie. "The flat iron process on straight hair is just to smooth the cuticle and get rid of any of those pesky little flyaways. Always start at a lower level and increase as needed."
Choose the right flat iron
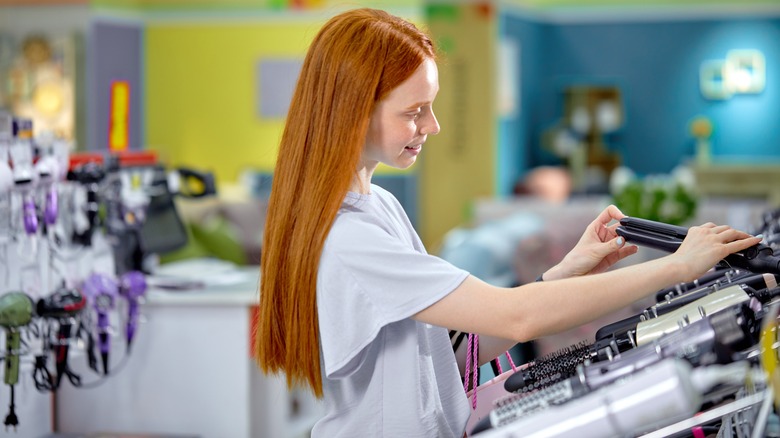
Two main components rule the roost when it comes to flat irons — ceramic and titanium plates. While each has its own flock of fans, most experts agree that ceramic plates are gentler on hair, according to The Zoe Report.
Each material transmits heat through the hair differently. Ceramic plates work by heating hair from the inside out with infrared technology, while titanium works by heating the exterior of the hair shaft. If wielded improperly, titanium plates can result in greater damage, especially to curly or textured hair.
In addition to choosing the right material, master hair stylist and cosmetologist Mark Goodman recommends not cheapening out when selecting a straightener. The bargain options tend to only have one heat setting — usually at an unknown temperature — and this simply doesn't give you enough control to treat your tresses with care, he explained to WebMD. Though it's not necessary to drop hundreds of dollars on a flat iron, choosing a well-reviewed, moderately priced one with ceramic plates and customized temperature control is a good idea. After all, it would be pricier down the road to repair your hair after wrecking it with a cheapo iron.
Trade in your straightener for a blow dryer
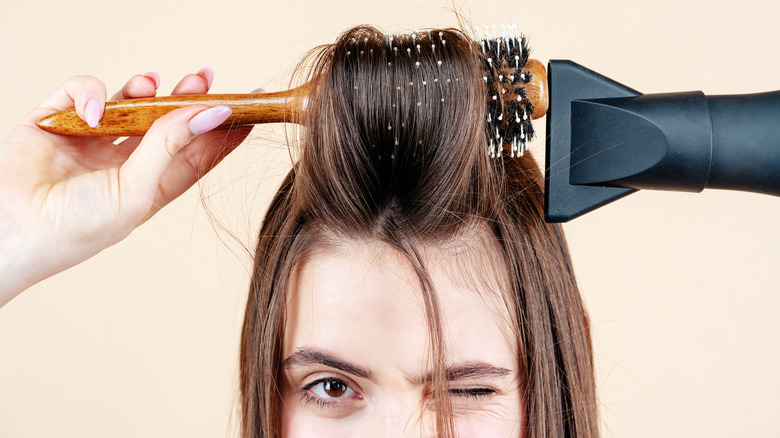
Keeping the heat moving and using lower temps is kinder to our tresses, so it makes sense that blow drying is gentler than flat ironing. With this method, heat is never directly on your strands like it is when they're pressed between plates. And since you need to brush while blowing, it feels natural to keep that heat moving along your strands without long and potentially damaging pauses.
The experts at Sam Villa have loads of tips to get the most out of your blow-dry sesh (and the least damage). Start by gently drying your hair with a T-shirt or microfiber towel until it's about halfway dry. Blow drying hair that's soaking wet or totally dry is not ideal. Top your strands with a heat protectant and then put your hair-clipping skills to work — again beginning with the bottom section.
Sam Villa suggests using a round brush, but avoid ones with metal bristles. Starting at the roots, twirl the brush out and away from your face as you gradually make your way to the tips. After each section is done, gently clip it up or loosely secure it with a low ponytail holder so you don't go over the same piece again. When you reach your top section of hair, you can utilize the round brush to create extra volume by lifting up the roots. When complete, finish with a smoothing cream, serum, or light hairspray to keep things sleek.
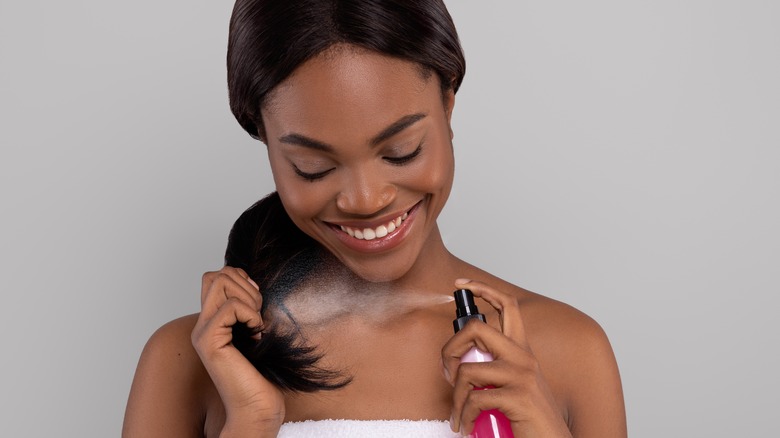
Moisturize your hair before and after straightening
Taking heat to your hair every day, whether with a flat iron or blow dryer, is stressful for strands. It's a good practice to limit your heat styling to a couple of times per week (via StyleCaster). In between those straightening sessions, treat your tresses to a lush deep conditioning treatment or protein mask. According to the experts at Swirly Curly Hair, applying hydrating treatments helps add back needed moisture and repair damage. If you know you're planning to style with heat, applying a treatment mask a few days ahead of time and a few days after is advised.
If you happen to be having a wacky hair day or are just really not feeling your au naturel locks, use those days off as an opportunity to try out some different styles. Celebrity hairstylist and Head & Shoulders ambassador Sunnie Brook Jones told Today that her tried and true favorites include buns, braids, and ponytails. She also suggests managing frizz by applying a serum to damp hair and letting it air dry.
Experiment by straightening hair without heat at all

The best way to straighten your hair without causing damage is to opt for a method that doesn't require even looking at a flat iron. Senior stylist at New York's Butterfly Studio, Jill Engelsen, told Elle about a simple method that only requires a brush. "For long to medium styles that straighten easily, brush wet hair down and pull it tight with your hands every few minutes until it dries," she advised. This method works best on hair that's medium to long in length that tends to straighten relatively easily.
Believe it or not, you can also use rollers to straighten your hair. "For long hair, use about six jumbo [plastic] rollers and section the towel-dried hair to the rollers' width, comb it up, and wrap your hair flat against the roller," Engelsen revealed. "Then, secure with a duckbill clip on each side."
Celebrity hairstylist Ricardo Rojas offered another option called toca, which involves using the cold air setting of a blow dryer to get hair just shy of fully dry, then taking sections and wrapping them around your head, using pins to secure them. Engelson suggested using a bit of cardboard or other firm material in the bobby pins to avoid creating dents in the hair.
When you're equipped with a bit of knowledge, along with the appropriate products and tools, you can get sleek, straight hair that feels as good as it looks.