Press-On Nails: 6 Tips To Make Them Last Longer
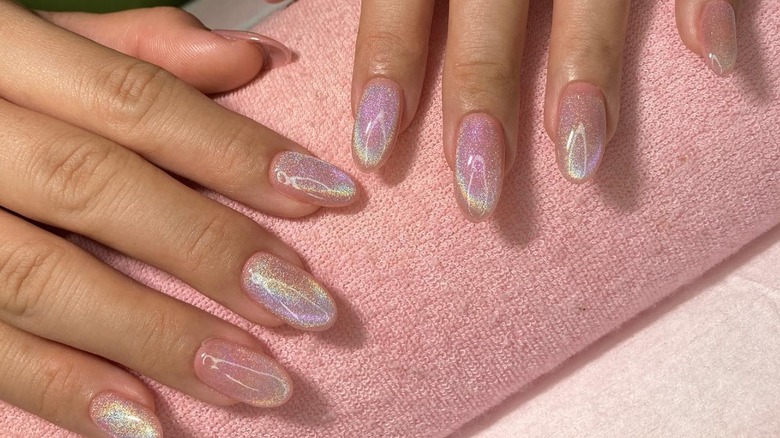
Press-on nails seem like a dream. You get the length of acrylics without draining your bank account. They come in any design and color you can imagine. Why hasn't everybody already made the switch to press-on nails?
Well, they can also be a nightmare. Keeping them on can be a major challenge. Some of us have found this out the hard way with inopportune, embarrassing moments of our pretty set flying off. Or maybe you haven't had it happen, but each time you're tempted to buy press-ons, your brain floods with horrific hypotheticals. Imagine you're making a salad for someone, and they crunch into a candy-colored plastic nail instead of a pecan. Or you're on a date, they hold your hand and wipe your index nail clean off. Fear not, though. These instances are only likely to happen if you don't apply them correctly. You can make these nails last for 2-3 weeks with the right tips and tricks.
Apply before bed

The press-on adhesive glue can take about 5-6 seconds to dry. However, a common mistake is thinking that this means they are fully ready to take on the world with the many activities your day entails. According to Sunday Beauty, it takes about 2 hours for your glue to fully dry. Until then, you'll want to avoid contact with water and anything that could budge it out of place. This can be pretty difficult during waking hours. But if you are asleep for eight hours, you can keep them safe and sound until they are 100% dry.
Clean up your cuticles
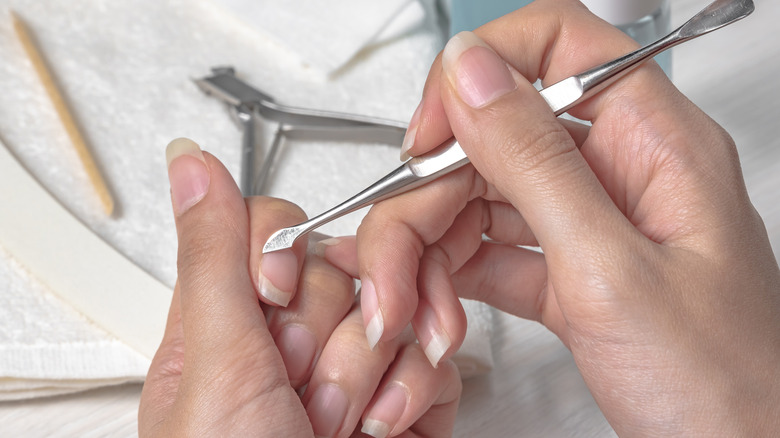
We all have this little layer of thin, rough skin that forms at the bottom of our nail bed. That pesky little fold is called the "cuticle." For the press-on to fit firmly and evenly into the nail, you'll want to get rid of this lifted ridge. After applying a cuticle remover to soften the skin, you can use a cuticle pusher to clear your nail. However, our cuticles play an important role in our nail health. So, you'll want to do a careful job, only removing the extraneous dead skin.
File your nail surface
And while you want the nail to be cleared of lumps and bumps, you do not want it to be entirely smooth. TikTok user @lindsaybthomas created a video tutorial explaining exactly how she gets her press-on nails to last from 2 to 3 weeks at a time. An essential step in her routine is to rough up her nail. Using a nail file, she lightly brushes the nail until the nail is a bit more coarse. She goes on to explain that this jagged surface allows the nail to attach to the nail with a greater grip.
Clear any nail dust
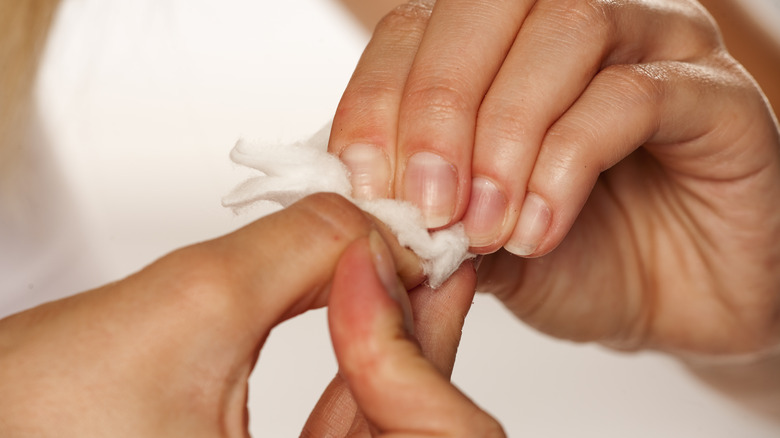
Again, the success of your press-ons will rely heavily on the texture of the nail you are applying it to. After the previous step, your nail isn't exactly ready to go. You need to rid your nails of any leftover dust. Small particles of chipped nails will likely appear from the filing that you did. If you fail to remove these tiny, loose specks, they will create a barrier between the press-on, the glue, and your actual nail.
Do not use any water or oil-based liquids on your nails
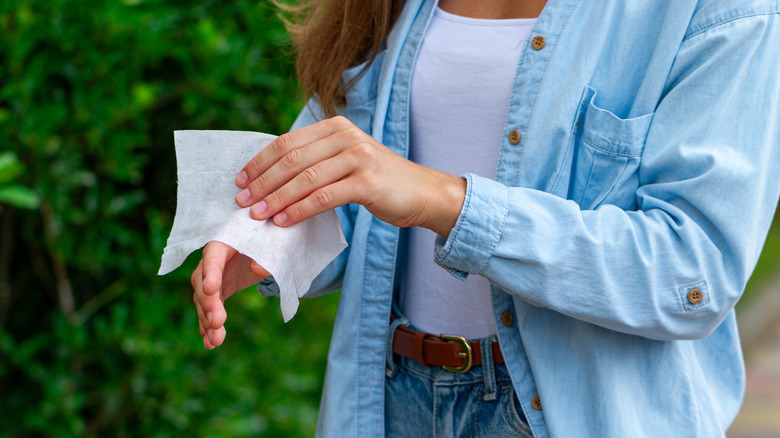
If you want the glue to get a firm hold on your nail, the surface must be clean of any water or oil-based substances. These can dissolve the adhesive product or prevent it from latching on in the first place. While in the previous step, we recommended you clear your nails of any lingering dust, you'll want to do this with an alcohol-based liquid or wipe rather than water. In addition, if you are using oil in order to push back your cuticle, aim to do this hours before or on a separate day.
Use acrylic powder for extra hold
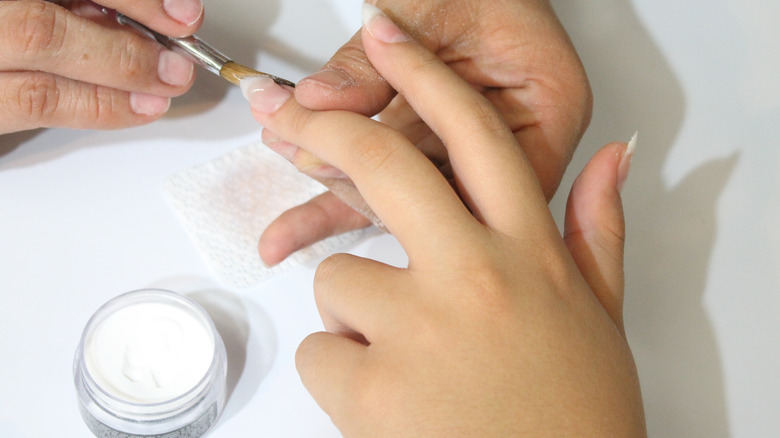
If you are an active person and know you're going to need nails that can be put through the wringer, there are measures you can take to get that level of durability. One trick is to use acrylic powder while applying your press-ons. In a YouTube tutorial by Roze318, she explains how to use an acrylic powder set to create an insanely strong adhesive. At the end of the video, she gives a two-week update showing that every nail is intact and looking incredible.