Follow The 90-10 Rule To Get Your Desired Nail Length And Shape Every Time
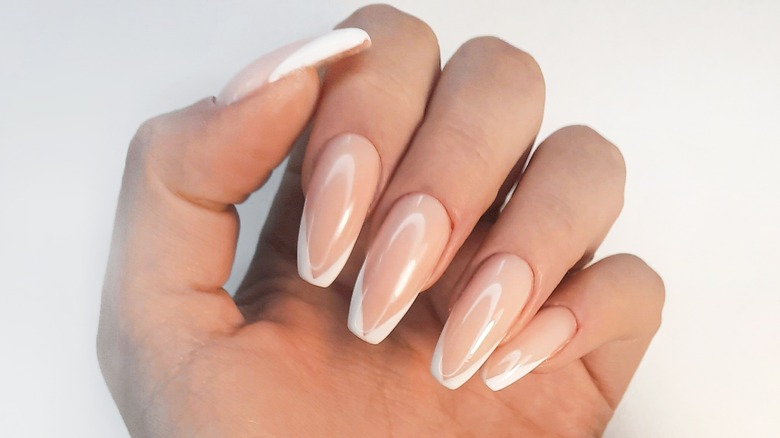
Square, oval, rounded, squoval — there are almost too many nail shapes to keep track of. But who doesn't love trying out different nail lengths and profiles? The same can't be said of trying to master them from your couch during an at-home manicure, though. That is unless you know tricks like the 90-10 rule.
Along with using proper, top-notch tools, there are a few tips handed down through amazing nail technicians that can help you nail (see what we did there) the perfect length and shape for your fingernails. Because we all know that even if your shade is amazing and your embellishments are super on-trend, a poorly shaped nail can severely detract from your manicure.
The shaping of your nail helps everything to look more polished and pulled together. Manicurists can be likened to great painters like Michelangelo, who knew that the perfect canvas was the secret to achieving a masterpiece. Your nail is your canvas. So before you paint on your favorite shade or add any rhinestones, start with this game-changing trimming and shaping rule.
What is the 90-10-rule?
Professionals have long been familiar with the 90-10 rule. But brands like Olive & June have recently brought it to DIY manicurists' attention. One of the most important elements in their five-step manicure guide concerns shaping. Or more specifically filing and trimming. The brand states, "90% of the shaping work is done with your nail clipper; 10% is done with the file."
This is shocking news to those of us who might skip a trim and set out to solely file our way to oval-shaped nails. Doing so can actually lead to over-filling. Not only does this sabotage your nail shape, it often leaves you with ragged edges and too-short tips. Not to mention having to choose between splurging for acrylics or languishing until your nails grow back out so you can try again.
Thankfully, the 90-10 rule is here to help you give yourself the ideal at-home manicure. To file only the tippy-top of your nails, you need to get to work with your clippers. But don't even think about using those curved clippers you've had since forever because Olive & June let us in on another secret that will change your nail game forever.
The secret to filing success

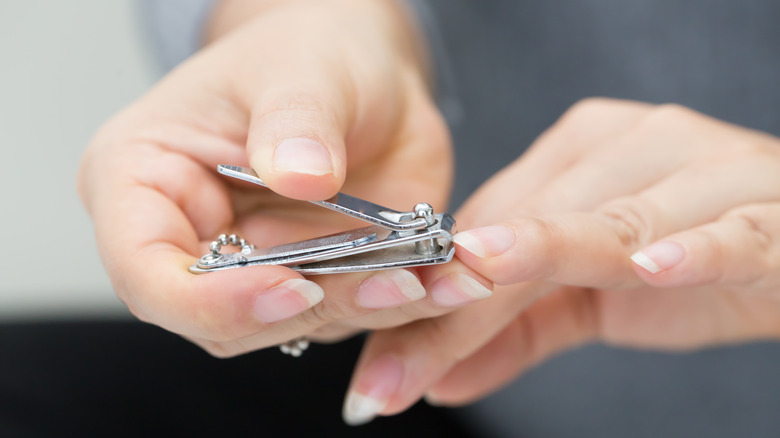
Trimming should be done with flat-edge nail clippers. There's no reason to throw your curved nail clippers away immediately unless you notice they're rusting, but just know that their crescent shape can set your manicure up for failure before it's even really begun. If you want square or straight-edge profiles, it will deviate from your desired shape right from the get-go. This means you'll have to do more filing work, and we all know what happens after that.
Instead, choose straight-edge clippers that can achieve cleaner, sharper lines. They're especially helpful if you're going for a squared-off nail. Manicurist Diane Daz also pointed out that straight-edge clippers don't go "into the corners to avoid ingrown nails," (via The Zoe Report). It's a win-win for your nails; they'll look fantastic and stay healthy too. Another nail-trimming tip is to avoid cutting your nails at an angle, which can leave a pronounced point in the middle.
Remember, 90% of your shaping work happens with the clippers. Envision the shape you want your nails to be, then carefully and slowly trim them to match. One chop straight across the tip isn't advisable either. With finesse, use smaller clips to prevent putting too much pressure on your fingernail and gradually work towards your finished look. Once you have the basic shape, pick up your file to smooth out any minor edges. With all the prep work done, you're free to dip, paint, and embellish your nails to perfection.