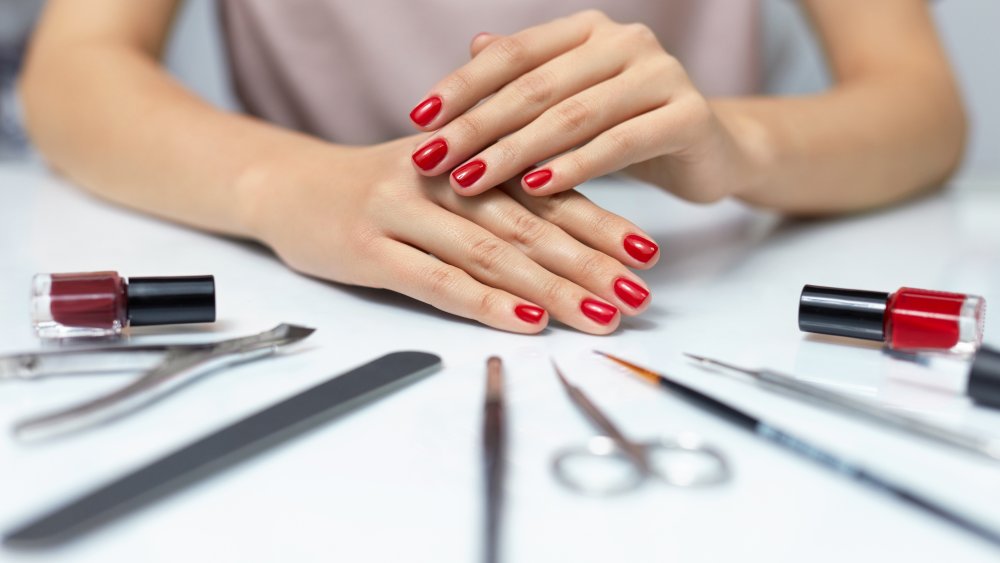
Here's How To Give Yourself The Ideal At-Home Manicure
How have your nails been looking lately? If it's been a while since your last manicure, is your polish starting to look a little chipped and raggedy, or have you long-since chewed it all off? If you haven't nibbled every last nail down to the quick, and you'd like your hands to be looking all pretty and polished once again, Women's Health talked with an expert manicurist from NYC spa Chillhouse to get all her best hints and tips for the perfect DIY manicure.
Spoiler: Giving yourself a home manicure the Molly Romah way won't be the quickest, easiest process in the world, consisting as it does of multiple steps and requiring no fewer than 12 pieces or paraphernalia (including polish), but if you've got the time, the patience, and the equipment, who knows? You may find that you have a flair for manicure and you may never need to go back to a nail salon ever again.
Get ready: Gather gear, get rid of old polish, and give your hands a soak
So what will you need to give yourself a home manicure? Oh, not much. Just some nail polish remover, nail clippers, a cuticle pusher, a file, a buffer, a Q-tip, cuticle softener, exfoliating scrub, hand lotion, base coat, top coat, and polish in whatever color (or colors) you prefer. Got all that? Good. Now you can get started.
Before you start anything new, you must first get rid of the old, and this applies to nail polish as well. While Romah recommends using non-acetone polish remover, Self warns that only acetone will work on a shellac manicure. Once all traces of polish are gone, prepare your hands for what is to come with a nice relaxing soak in warm water. Romah says to use salt water, but Madge the manicurist from the old Palmolive commercials used to tell her clients that her brand of dish soap would do the job as well — and, believe it or not, the Successful Homemakers blog says that Palmolive really does make for a great pre-manicure hand soap (whether or not you're actually multitasking and washing the dishes, as well — less relaxing, true, but huge bonus points for being time efficient). Once your 10 minutes are up (and/or your dishes are clean), rub on a little cuticle softener in preparation for the next steps.
Get set: Prepare your hands and nails
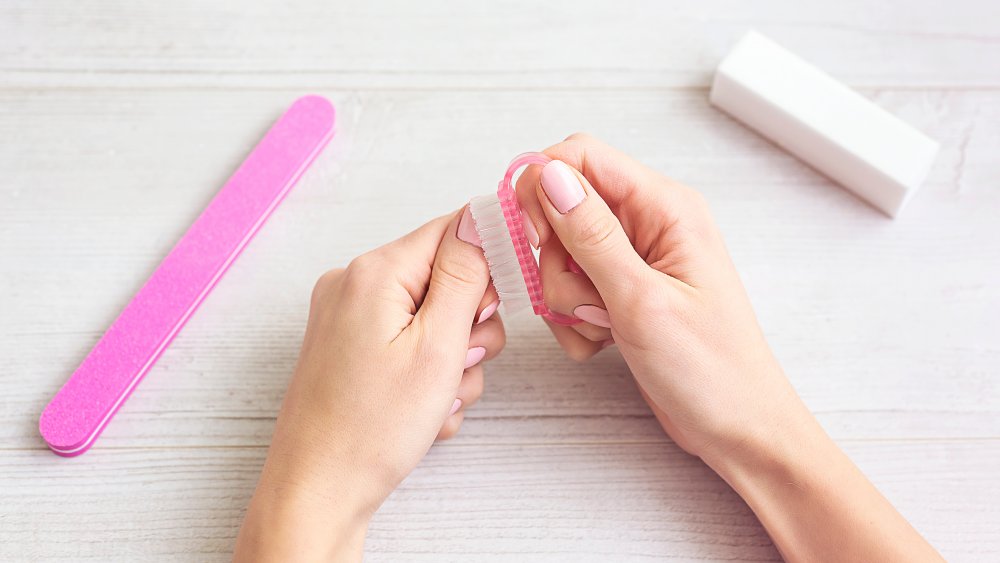
First clip your nails to the desired length, then use a file to shape them and smooth away any jagged edges. Finish off by using a super-fine grit buffer, as buffing will smooth out any ridges in your nails and also slightly roughen the surface to allow the polish to adhere better. Once your nails are prepped, wipe away the cuticle softener and use that cuticle pusher to push back your cuticles. (If you do not have such a tool, a wooden stick may be used instead.)
And since beautiful nails don't really go with rough, dry hands, take a little time to use an exfoliating scrub on your hands — this is something you shouldn't do every day, but exfoliating your hands up to three times a week will help them stay soft and smooth. Every time you exfoliate, though, you must always, always follow up by moisturizing your hands, making sure you rub the cream down and in between every single finger.
And go: Paint those nails, then clean up the mess
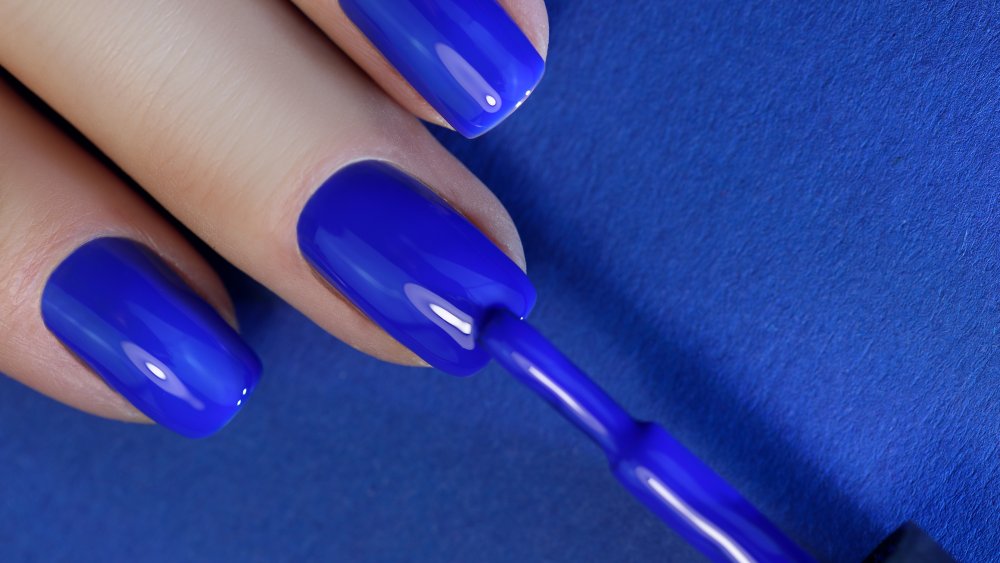
At long last, it's time to get painting. (Hope you set aside a good chunk of time for this process!) Start off by applying a thin coat of base, then apply a thin line of color across the top of your nail. Next apply a dot of color down along your cuticle line and push that color down to the base of your nails. Swoosh the brush up toward your nail's outer rim, being sure to cover the edges with polish. Keep sweeping up with additional strokes, from base to tip, until your nail is entirely covered with polish. Once you're done painting your nails, finish off with a top coat to seal in the color and help protect your manicure.
The very last step, which you should undertake only after your polished nails are completely dry, is to soak a Q-tip in nail polish remover, then very carefully maneuver it to clean up any stray smudges around the nail bed without removing any of the polish on your nails themselves.
Now you're done, and wasn't that fun? If so, good, you've now learned a new skill. If it didn't work out quite the way you'd planned, though, at least you've gained some appreciation for all the hard work your manicurist puts in, so be sure to leave a nice tip next time you do visit the salon.