The Best Way To Remove Acrylic Nails At Home
Tired of going to the nail salon every few weeks to remove an overpriced acrylic nail set? Yeah, we are, too. As nice as it is to go to the salon to get a nice treatment done and experiment with different nail trends, it gets expensive after a while — or maybe you just don't have the time to schedule an appointment and make your way to the salon every couple of weeks. So why not master the art of removing your acrylic nails at home?
If you typically get acrylic nails, then you know how important it is to get them taken off correctly. Having a professional nail tech remove your acrylics is the best way to avoid damaging your natural nails, but it is possible to do it yourself. The whole removal process only takes about 20 to 30 minutes.
If you are looking for the best way to remove your acrylic nails yourself without biting or ripping them off out of frustration, you're in luck: Continue reading to learn the best way to remove acrylic nails at home.
Prepare the area and gather supplies
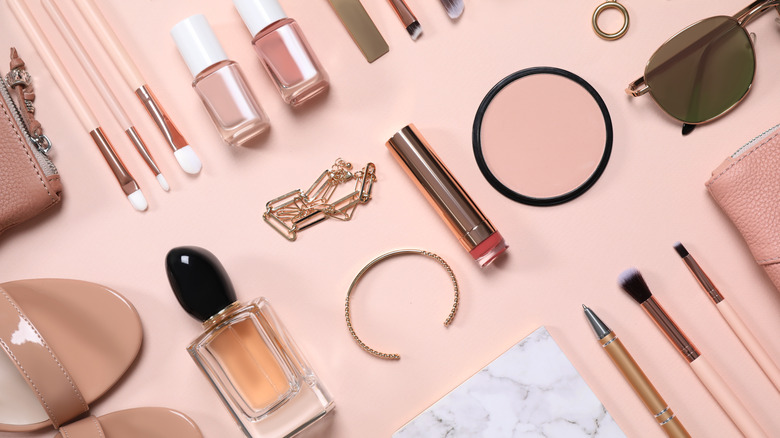
To create your at-home nail salon, you will need to prepare the area and gather some supplies for removing your acrylic nails. First, set up your space similarly to an actual salon. Not only does this create a fun vibe, but it will also help you achieve better results. You might even want to put on some soothing music in the background for the full experience. Sit at a table that can be easily cleaned afterward, considering you'll be clipping your nails and using products such as acetone.
Next, gather all the essential nail accessories, including nail clippers, a nail file, a nail buffer, 100% pure acetone, a cuticle pusher, some cotton balls, a small bowl, and some foil to wrap your nails in (via Allure). If you've ever given yourself a manicure, these tools should already be pretty familiar to you.
Next, we'll break down the process step by step, as it can be a bit overwhelming to remove your acrylics for the first time.
Step 1: Cut the acrylics close to your real nails
First things first: Start by trimming any excess nail growth to a length that is most comfortable for you. Harper's Bazaar suggests using an acrylic nail cutter for best results, but if you don't have one, a toenail clipper will also do the trick. The bigger the clipper, the better. To begin, clip the nail as close to your real nail as you can, without actually cutting your real nail or hurting yourself. Instead of clipping straight in the middle, start from one side and work your way over to the other for an even cut.
According to GQ, aside from not clipping straight on, you should also leave a little white nail length. As a general rule, the nail should not extend past your fingertip. To make sure that your fingernails are all the same length, hold your fingers up and determine which nail is the shortest, and then match the rest to that same length and shape. If you notice any residue or dirt underneath your nails, now is the best time to clean them.
Step 2: Use a file or nail buffer on the polish
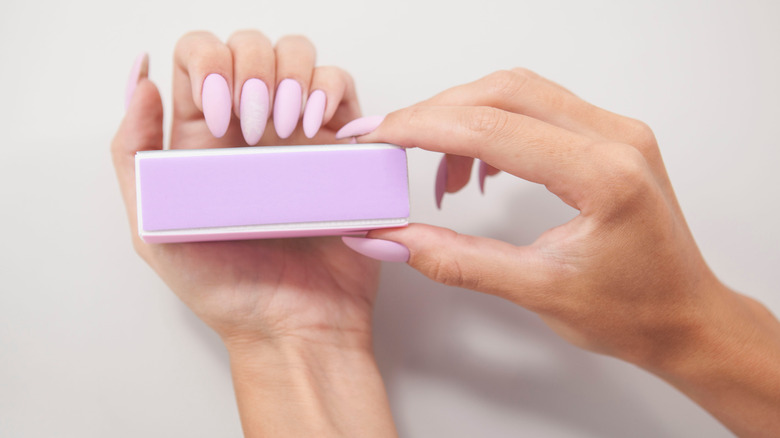
For the next step, you'll need to grab your nail file and buffer. After you finish cutting your nails at an equal length that is comfortable, use your file to even out the edges for a smooth, sleek finish. Next, use the buffer on the polish on each nail until it is covered in dust and has no remaining shine. For best results, hold the buffing block parallel to your nails and stroke each nail one at a time, creating an X shape (via GharPar).
According to Cosmopolitan, removing the top layer of polish will help acrylic nails soften much faster once they are submerged in the acetone later. However, be careful not to over-buff your nails (and yes, this is absolutely a thing). Excessive buffing can cause the nail to become incredibly thin, making it more susceptible to splitting and breaking.
Step 3: Soak your nails in acetone

After you've finished buffing each nail, grab a small bowl that your hands can easily fit into and fill it with 100% pure acetone. The amount in the bowl does not matter, as long as you can fully dip your nails into the mixture (via Best Acrylic Nails). Plan to soak your fingers for at least 30 minutes or so.
If you don't want to use a bowl, you can use aluminum foil instead. Soak a cotton ball in the acetone, place it on top of your nail, and tightly wrap the finger in tin foil, securing the cotton ball in place on your nail (via Harper's Bazaar). After 30 minutes of soaking, check on your nails to gauge the progress. If you see that the acrylic is starting to get loose, you can begin removing the excess product with a nail tool.
Keep in mind that acetone is a highly flammable chemical, so avoid heating it at all costs. If you want to warm the acetone before dipping your hands into it, simply add a few tablespoons of warm water to the mixture.
Step 4: Use a metal cuticle pusher to push the acrylics off
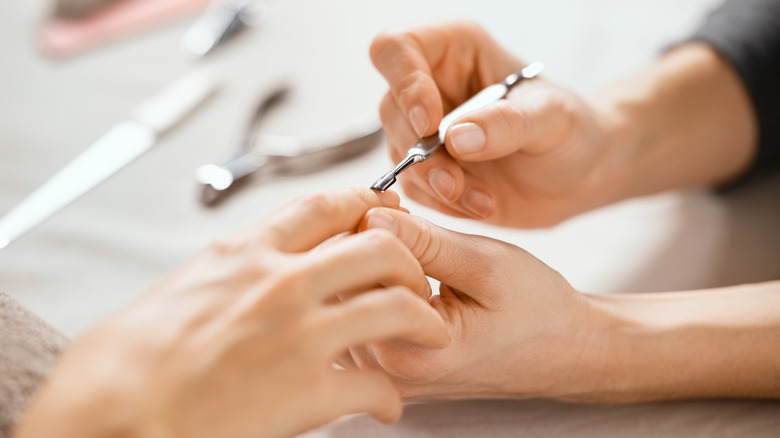
After soaking your nails, you can use a metal cuticle pusher to gently push off the remaining acrylic from your nails. Start at the top of your cuticles and work your way downwards, removing as much as you can. After soaking the first time, you may find that some polish is stuck to your nail and not budging. If that happens, just soak your nails for another 10 minutes or so and repeat the process. Continue that step over and over until all of your acrylic nails have been completely removed (via Cosmopolitan).
During this process, make sure to take care of your cuticles as well. According to L'Oréal Paris, it is recommended to skip clipping them yourself at home, not only because it is very easy to mess up and cut yourself, but also because it is possible to irritate them and cause infection. Instead, push them back with a wood stick, metal cuticle pusher, or even a cotton swab or soft cloth for a clean, appealing look.
Step 5: Remove all residue and buff

You're almost done! Seriously, this is practically the final step. Now that you've gone through the process of removing all of the acrylic nails, lightly buff your clean nails to smooth the surface and remove any leftover residue. For best results, buff from the base of the nail toward the edge (via Nailbees). Again, make sure to be mindful of not over-buffing — just buff lightly enough to remove whatever is left on the nail. You can also shape the nails as needed during this step.
Once you are completely finished buffing, you'll want to wash your hands with warm water to get rid of any leftover dust (via Allure). At this time, feel free to continue shaping and filing your nails for any last-minute adjustments. Now that your nails are officially acrylic-free, it's time to start post-removal treatment and learn how to maintain healthy nails in between sets.
Step 6: Rehydrate your nails using cuticle oil
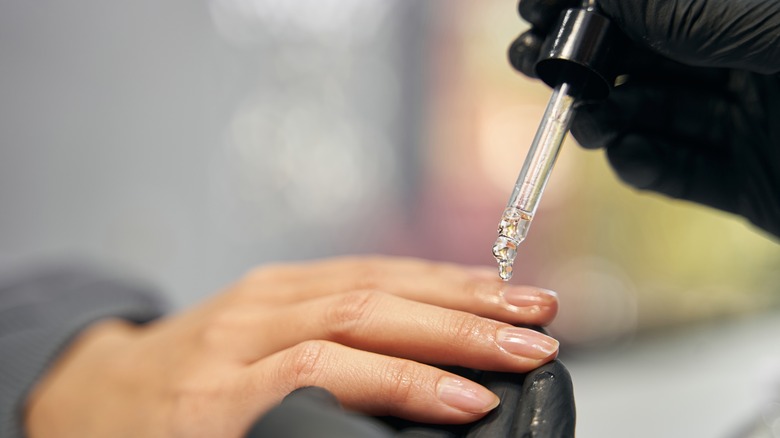
After this long, somewhat tedious process, it is crucial to rehydrate your nails. Add moisture by applying cuticle oil to your nails and cuticles and massaging them thoroughly. Since acetone is a chemical that can be very drying, it is important to hydrate your nails frequently — ideally at least daily (via Harper's Bazaar). There are many different cuticle oils to choose from. Taking just a couple of minutes out of your day to massage the oil into your nails can make them appear shinier and healthier. After all, you didn't go through all of this work just to have your nails look unhealthy.
There are multiple ways to keep your nails healthy after removing your acrylic nails. Aside from using cuticle oil whenever you can, it is also important to continue drinking plenty of water and moisturizing your hands often (via Essence).
Give your nails some time before your next set of acrylics
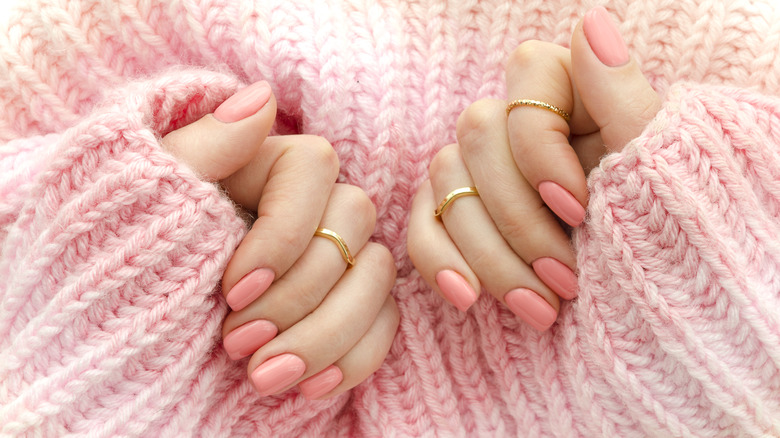
Congratulations, you did it! You successfully removed your acrylic nails without having to go to the nail salon, and hopefully with very little damage. Now, you might want to consider giving your nails some time to breathe before heading back to the salon and getting a new set.
Check your nails for ridges, nail splits, discoloration, peeling, or rough spots, which can be symptoms of unhealthy nails (via Allure). Other signs that shouldn't be ignored are yellow nails, brittle cuticles, and bleeding or inflamed skin (via Today).
At this time, you can add a nail strengthener to build up strength in your nails, since acrylics tend to make nails thinner and more easily breakable over time, according to InStyle. To use a nail strengthener, simply apply two coats onto dry nails (after pushing back the cuticles) and add a new coat once a day every other day (via Ulta Beauty). According to Insider, healthy nails have a natural light pink color, don't have ridges or dark lines, don't break easily, are free of fungus, and are well-moisturized.
If you don't want to use acetone, there are a few other options
Although the most common way to remove acrylic nails is by using acetone, there are other options you can use at home if you don't want to use a harsh chemical on your nails. Instead of acetone, all you'll need is warm water. Soak your nails in a bowl of warm water with a few drops of soap for about 20 minutes before you attempt to remove them (per Clutch Nails). While they are soaking, move your nails around in the bowl to try to loosen them up so they are easier to remove. Then, once the glue is loose enough, use a tool to peel off the remainder of your nails. If they are still not budging, repeat the process again for another 10 minutes until they are fully loose.
Acetone-free nail polish remover is another option to remove your nails. Although the polish contains chemicals like ethyl acetate, isopropyl alcohol, and propylene carbonate, it is still less harsh than regular acetone. Cuticle oil is another healthier option, considering the oil has ingredients that will heal your nails instead of damaging them. Clutch Nails suggests soaking a Q-tip in the oil and brushing against your nails until they come loose. Lastly, if your nails are already loose, dental floss is another potential method.