Here's What You Need To Know Before Doing Polygel Nails At Home
Beautiful nails are a must-have for many of us, but having your nails professionally done can be rather expensive, can't it? That's why so many nail enthusiasts are choosing to turn to DIY nail art, rather than heading to the salon.
For anyone wanting to sculpt their own nails at home, Polygel is the ideal solution. As per DRK Beauty, it's a perfect in-between for regular gel polish and acrylic nails. Polygel is far harder and more durable than regular gel but more flexible and easier to work with than traditional acrylic, making it the ideal option for crafting salon-style nails at home.
The idea of sculpting and designing your own nails at home can seem daunting, but with the right approach — and a simple design — it doesn't have to be. As per Byrdie, Polygel is a leading nail-enhancement tool.
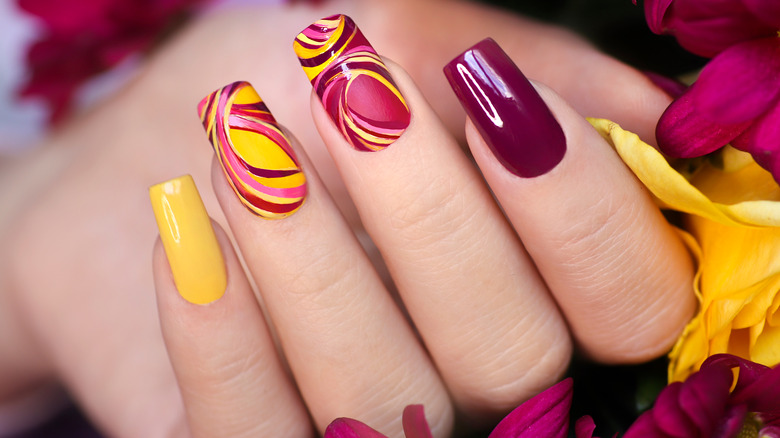
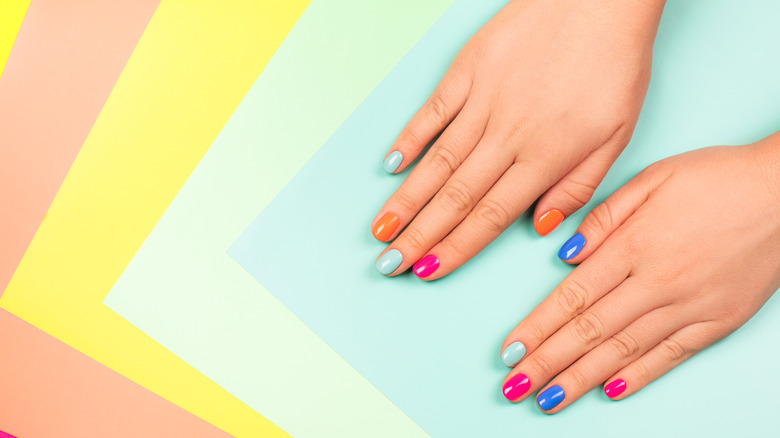
It's certainly easy to see why Polygel has become so popular when it comes to home manicures.
What is Polygel and how does it work?
According to Byrdie, Polygel is a form of nail enhancement that was designed as a hybrid formula that combines acrylic nails with gel nails. Polygel comes in a tube and is a combination of traditional acrylic powder and clear nail gel; it has a soft, "putty-like" consistency making it easy to use and shape.
International nail designer and celebrity manicurist, Naomi Gonzalez-Longstaff told the outlet that Polygel "offers the nail professional the time and space to really deliver on sculpting and constructing the architecturally structured nail."
In order to use Polygel at home, you will need to invest in a Polygel starter kit. As per DRK Beauty, in order to create Polygel nails at home, you will need Polygel builder gel, a nail file, a double headed Polygel tool, dual forms for nails, a slip solution (or rubbing alcohol can be used instead), a Polygel base and top coat, and a UV or LED nail lamp.
How can you achieve salon style Polygel nails at home?
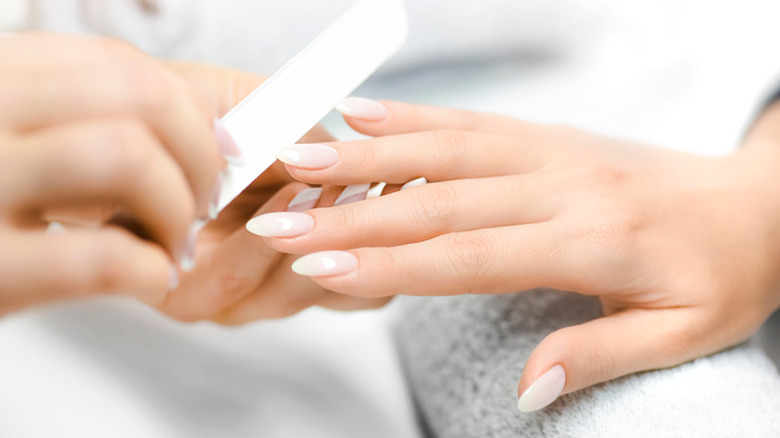
As Byrdie explains, when it comes to sculpting a Polygel nail into the desired shape, it's important to shape the natural nail first. This should be followed by cutting the cuticle or pushing it back and then buffing the nail surface. DRK Beauty reports that the next step is to choose the right size dual forms — you need one form for each of your nails. As a rule of thumb, the dual form needs to be slightly larger on the sides than the actual nail. Add a base coat to your nail and cure it for 45 to 60 seconds under your UV or LED light.
The next step is to squeeze a small amount of the Polygel onto the first dual form; next dip your nail brush into your slip solution or rubbing alcohol — this will stop it sticking to the Polygel — and use the brush to spread the gel evenly across the dual form. Next, place the dual form onto the nail at a 45 degree angle, pressing down lightly, then cure it under the UV or LED lamp. Once you remove the nail from the lamp, squeeze the sides of the dual form and it should pop off, leaving a sculpted Polygel nail.
Finally, shape and file the nail to the desired length, top with nail gel polish, and add a top coat.