What You Can Really Do To Fix The Dome Lights In Your Apartment
We may receive a commission on purchases made from links.
One of the most frustrating aspects of being a renter is the inability to make significant changes to your apartment. Certain features may not be up to your usual standards, and you have to live with design details that aren't reflective of your personal taste. While you do have the ability to decorate in a way that conveys your personality, you can't undertake any significant DIY projects without prior approval from your landlord. In some instances, you can hide details you dislike, but when it comes to overhead lighting, your options are usually limited.
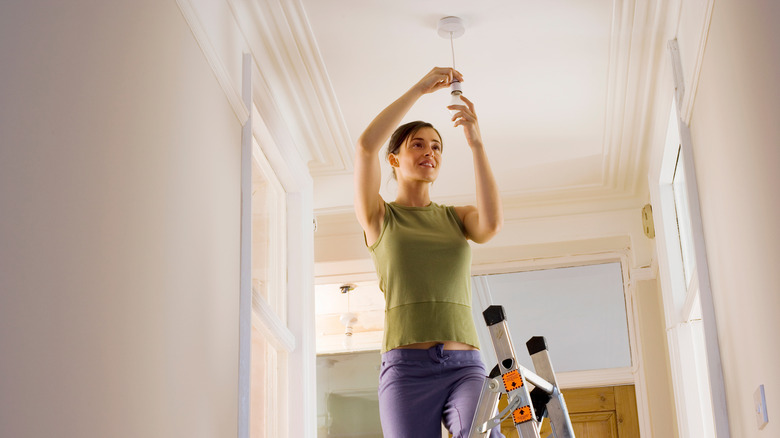
If you live in an apartment with dome lights, you know how unpleasant they are to look at, and yet it feels impossible to think of ways to improve their appearance. Thankfully, one particular TikTok user has come up with a solution that's easy to accomplish — and it's renter-friendly, too. You don't have to be home improvement savvy to master this change, and you don't have to contemplate how much it costs to hire the Property Brothers to handle the project for you either.
All you need to really fix the dome lights in your apartment is a flush mount conversion kit, and once it's properly installed, you'll never have to worry about unsightly overhead lighting again.
Fix the dome lights in your apartment with a flush mount conversion kit
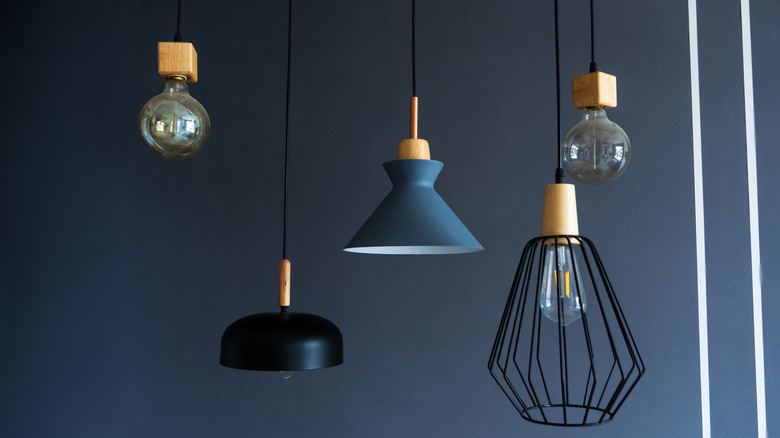
If you've never heard of a flush mount conversion kit, you're not alone. Until we heard of the suggestion through TikTok, we didn't know what it was either. Essentially, a flush mount conversion kit provides you with a shade, a threaded rod connection, and all the hardware needed to easily install the shade over your existing dome light (via Amazon). The best part is that they're super affordable and they're renter-friendly, as you can simply remove the shade and corresponding hardware before you move out.
According to the viral video, you start by removing the glass dome from the existing ceiling light and place the dome in an area where it's out of harm's way so you don't have to worry about it accidentally breaking. Next, you attach the shade and diffuser provided to the center post of the ceiling light and affix everything with the appropriate hardware. The kit you receive should come with detailed instructions explaining how to do this properly, as you'll want to make sure you maintain safety practices throughout the process to avoid shocks or injuries.
Once the shade, diffuser, and hardware have been connected to the ceiling light, you're good to go! And when it's time to move out and move on, all you'll need to do is remove the shade and the correlating hardware and re-attach the glass dome.