How To Create The Tortoise Shell Manicure At Home
There are countless options when it comes to nail art, but few looks are more chic and versatile than a tortoise shell manicure. The pattern itself has been prevalent in fashion for decades, appearing most often in accessories such as sunglasses, bags, and shoes. Though tortoise shell tips have long been in vogue, the look is having a major trending moment — as celebrities like retired Victoria's Secret model Alessandra Ambrosio and "To All The Boys I Loved Before" actor Lana Condor have recently been spotted rocking the chic pattern on their nails, per Refinery29.
If you'd prefer not to shell out money at the nail salon to get the perfect tortoise shell manicure, the good news is that it's still easy to achieve this look at home for (a lot) less. The process is likely much easier than you think it is. All you'll need are the right tools, a steady hand, and a little bit of faith in yourself to get the job done well. Glamour recommends Essie as the best brand overall for at-home manis — in particular, the Essie Expressie variation has a quick dry formula that's great for nail on-the-go — and Paintbox for when you want to create bold nail art. Here's how to recreate the look at home.
Follow these steps to achieve salon-worthy tortoise shell nails
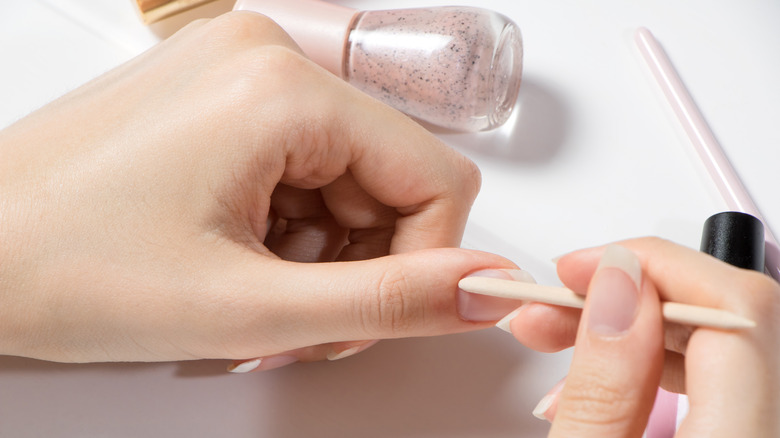
To get started on your at-home tortoise shell manicure, you'll need a solid lineup of nude shades in varying colors, as well as a bottle of black nail polish, according to Cosmopolitan. The outlet advises you first file your nails and push back the cuticles before beginning with a base coat that's a lighter nude color. Pale yellow also works well in this situation. Though most nail professionals recommend using a gel polish for nail art, one social media user shared a tutorial video to YouTube that makes "nailing" an at-home tortoise shell manicure easy without gel polish.
Once your base coat is down, dab a generous amount of burnt orange polish on a sheet of tinfoil, and mix with a drop of nail polish thinner, per YouTube. The next step is easy! Simply apply thin layers of polish in random spots across your nail for added texture. Mix the same color and thinner with some black for a darker shade and repeat the process, according to YouTube. You can continue to add lighter or darker shades as you wish, but note that more layers makes for a longer dry time. You'll want your nails to be completely dry before you apply a high-quality top coat to give your nails a polished look. We have every confidence that you'll "nail" this look!