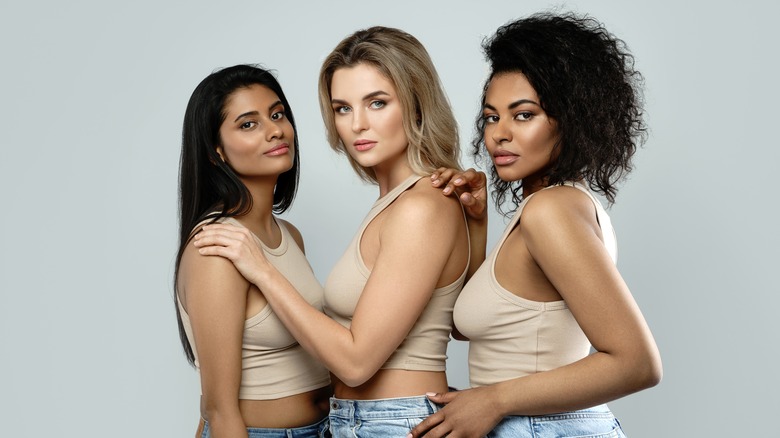
The Easiest Way To Curl Your Short Hair

With the recent popularity of shag cuts, blunt bobs, and natural curls, it's likely that your interest in short, tousled hairstyles has recently been piqued (per Who What Wear). We've loved seeing curly hairstyles from stars like Simone Ashley, whose lob has been styled by makeup artist Alex Babsky, and Gemma Chan, who sported vintage-inspired curls in the 2022 movie "Don't Worry Darling," according to Who What Wear.
Even if these looks appear cute and effortless, short, curled styles aren't always so easy to accomplish on your own. Once you've decided what short hairstyles suit your face, then you have to actually figure out how to style it. From straightening irons to heatless hacks, there are several techniques you can use to curl your short hairdo. Whether you're new to styling short hair or just looking for something quick and easy, we recommend using a curling iron to curl your short hair, and we have all the tips and tricks you need to do it.
Consider your hair type, texture, and length
Before you begin curling your short hair, it's helpful to assess your hair type, texture, and length. This will determine what sorts of products you'll need, how many sections you should separate your hair into, and what curling iron size you should use. Of course, this will also depend on what style of curl you're going for.
As Briogeo explains, fine-textured hair doesn't always hold styles easily, so you might need to use a light volumizing product or dry shampoo to help your hair maintain a curl. If you have a lot of hair, so it's thick in overall density, then you'll likely have to separate your hair into several sections and work through them individually. Check out this guide from Curls to learn more about your hair texture and type.
Find the right tools to curl short hair
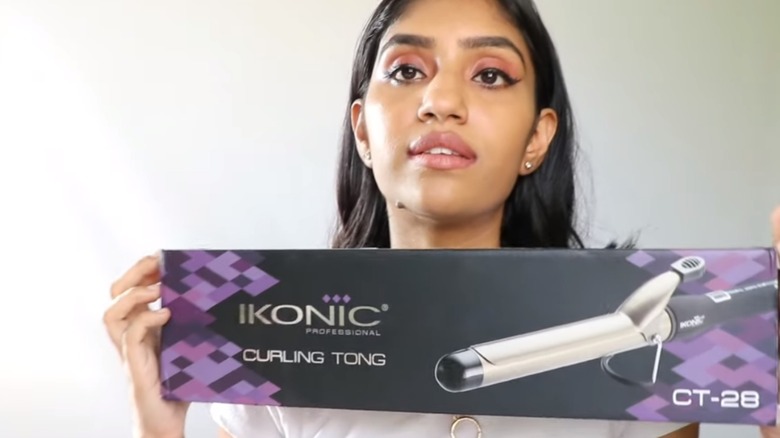
Next, you should make sure that you have all the necessary supplies for curling your hair. A curling iron is an obvious necessity, and there are many of them to choose from. If you're looking for something salon-quality, then Chloe Brown uses the Hybrid Curling Iron from Croc USA while Forbes recommends the Long Barrel Curling Iron from Bio Ionic. However, there are so many affordable options out there, too, like the Revlon Pro Collection 1.25" Copper Ceramic Spring Curling Iron used by Marisa Kay. Regarding rod size, YouTuber Brad Mondo explains that he typically uses a 1.25" inch rod on all hair lengths, but that you can go smaller if you're looking for a tighter curl.
You'll also need hair clips or ties to section off your hair. A hairbrush or comb is always helpful when styling your hair, too. In terms of products, heat protectant spray and hairspray are must-haves. Products like dry shampoo and texturizing spray can also be helpful, as mentioned by NuMe Hair.
Start by applying product
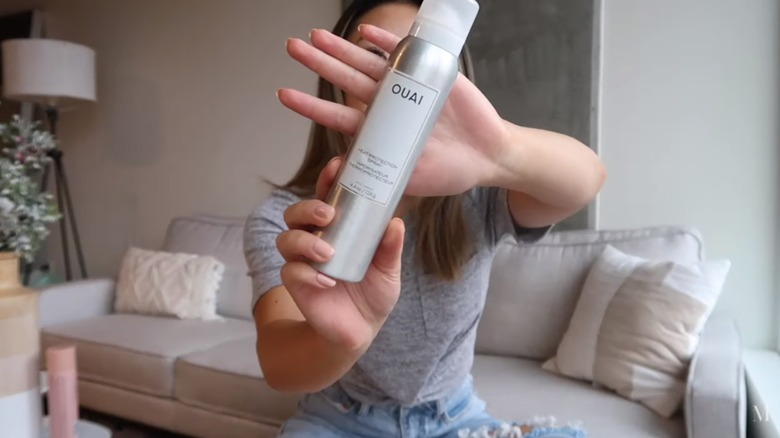
Whenever you're using heat on your hair, you need to prep it with a heat protectant spray. This should be used all over your hair, but you can also apply it to individual sections to prevent damage. Brushing through your hair after spraying the product will ensure that it's applied evenly (per Skin Kraft).
If you're wondering about what protectant you should use, Marisa Kay uses Ouai heat protectant, while Milabu uses the Hot Off The Press Thermal Protection Hairspray from Paul Mitchell. Additionally, Byrdie suggests using Living Proof's Restore Protectant Spray but found that the Leave-In Detangling Tonic from Odele doubles as a great budget option.
Jemima Victor recommends not washing your hair, as unwashed hair's natural oils and grittiness are better for holding long-lasting curls. However, if you're working with freshly washed hair, then using products like texturing spray or one of our survey-recommended dry shampoos to add texture is a good idea.
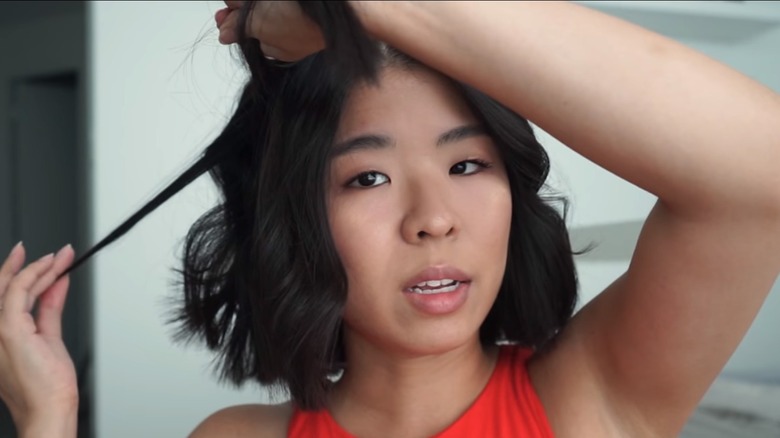
Section your hair off using a ponytail or clip
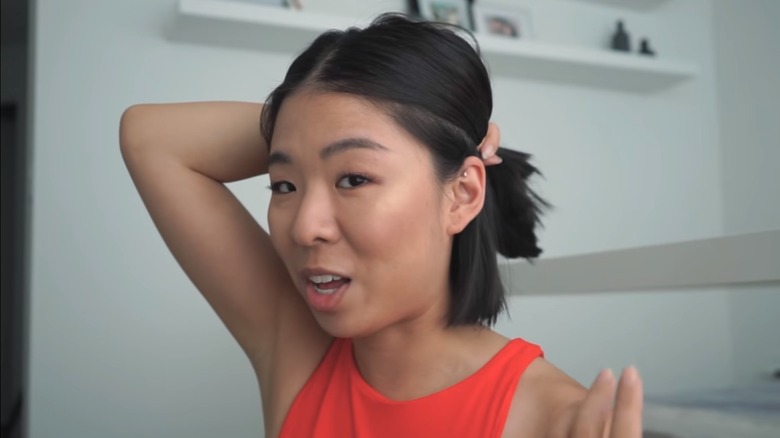
The next step is to section off your hair using ponytail holders or clips. As mentioned, the overall thickness of your hair, plus the style you're aiming for, will determine how much sectioning you need to do. Because they have thicker hair, Jemima Victor separates their hair into three vertical parts: the bottom, middle, and top.
While Letitia Kiu mentions that they have thick hair, they choose to only use a top and bottom section for the sake of convenience. This is fine if you're going for a more laid-back, tousled look and are okay with potentially missing some of the pieces at the back of your head.
While less common, Marisa Kay chooses to separate their hair into left and right sections. Similarly, this can be a good method if you don't have particularly thick hair or if you're going for a more tousled, wavy look. Really, you can experiment with how you section out your hair and decide what works best for you.
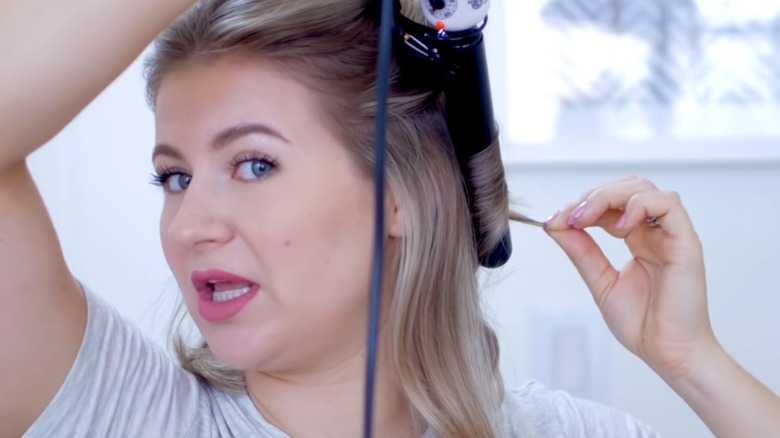
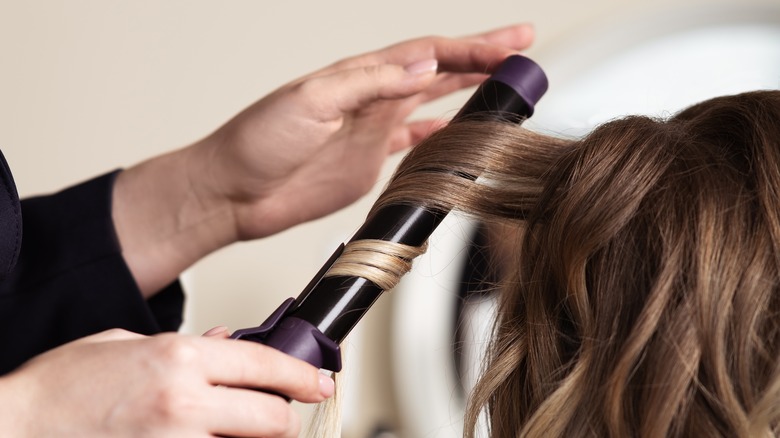
Wrap your hair around the curling iron
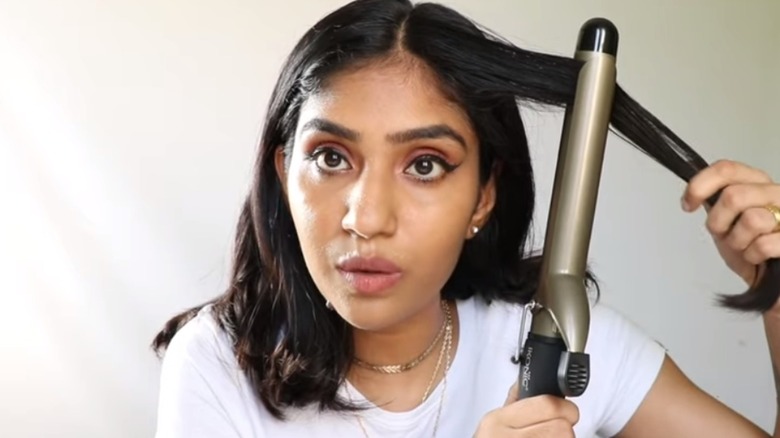
Next, you can move on to actually curling your hair. As suggested by Marisa Kay, start by grabbing about an inch-wide portion of your hair. Optionally, some tutorials recommend applying hairspray at this point to help hold the curl, but make sure the product has dried before applying heat.
Then, using the turning technique detailed by Jemima Victor and Chloe Brown, close the curling clamp at the midway point or toward the top of the hair length. Turn the iron, going in the direction of your hair, to create a curl around the rod. If all of your hair isn't curled around the iron, then, after a few seconds, you can continue to turn the iron to envelop more hair. Continue turning and pausing until as much of the desired hair is curled around the rod. Victor recommends holding the curl for about 10 to 20 seconds, but this may vary depending on your hair. For thinner hair, you'll likely be able to get away with shorter holds.
Try out other curling iron techniques
Besides the turning method, there are other curling iron techniques that you can experiment with when styling your short hair. Allure warns against curling your hair from the bottom upwards, as this can damage the ends of your tresses. YouTuber Chloe Brown also explains that doing so often results in bottom-heavy curls, which isn't particularly good for short haircuts.
While the turning method avoids this, you can also curl your hair from the root downwards, as Milabu does in their curling tutorial. This is similar to the techniques used with the wand, a hairstyling tool that's similar to a curling iron, as the hair is wrapped around the rod of the curler and manually held against it at the ends.
Additionally, Marisa Kay starts towards the bottom of their hair length but avoids damaging the ends by leaving about an inch or so of the hair outside of the clamp. While this may work for shoulder-length styles, it won't be the best option for many shorter cuts.
Avoid common hair curling mistakes
In addition to curling your hair from the bottom upwards, there are some other common mistakes that you'll want to avoid when styling your short hair. For example, Brad Mondo mentions that you should particularly avoid creating curl "hooks," which occur when you curl your hair against the direction that you've clamped it, creating a hook-like bend at the end.
Chloe Brown explains that a common hair curling mistake is selecting lengths of hair that are too thick to be effectively curled in one go. To avoid this, they recommend working with smaller sections of hair. As mentioned, working with about an inch of hair at a time is a good idea, but you can go even smaller to ensure a solid curl.
Lastly, Marisa Kay states that it's important to make sure that the hair you're curling sits flat against the barrel of the iron. If it doesn't your curl can come out uneven, incomplete, or flat. Importantly, it's also easier to set your hair flat against the rod when you're working with smaller sections.
Continue curling sections of your hair
Now, you can work through curling the various layers and sections of your hair. Many YouTubers, including Brad Mondo and Milabu, suggest alternating the directions of your curls as you go from one length of hair to the next. However, Chloe Brown explains that curling your hair in one direction can provide a more old Hollywood look, so keep that in mind if you're considering a more classic, glam hairstyle.
It's also important to pay attention to the curls near your face, as Jemima Victor recommends curling the strands directly next to your face outwards to create face-framing curls. If you want to style your curled hair with a middle part, both Annie Forget Me Knots and Letitia Kiu recommend curling the top layer first with a middle part and then flipping it over to your desired part afterward.
For a looser, beach wave look, Mondo recommends leaving the higher portion of the top layer of your hair flatter, focusing the curls lower down. However, you can still achieve this after curling by brushing through your hair.
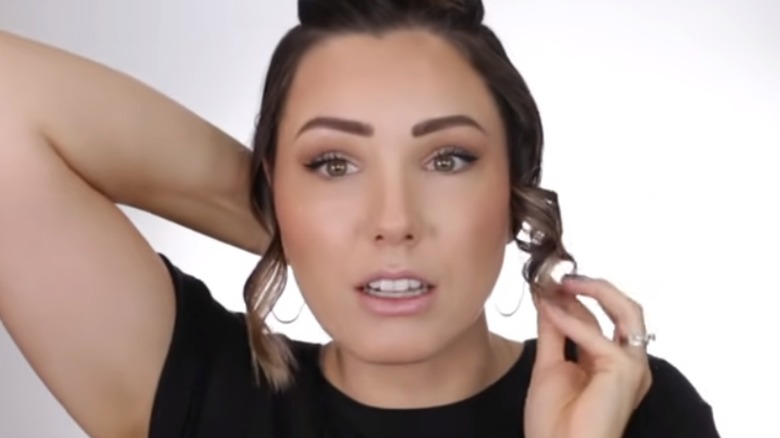
Set your curls with hairspray before loosening them
After you've completely curled your hair and set your part where you want it, then you can move on to the finishing touches. First, you should hairspray all of your curls. You can hairspray individual sections as you're working through them, either before or after curling, but it's a good idea to add a final, full spritz once you've finished.
As Milabu explains, you're welcome to leave your curls in this state, but a looser look is more on-trend. To achieve this, either brush through your curls with a hairbrush or your fingers, loosening the tighter curls to get a blown-out look. If you're finding that one or two particular curls are tighter than you're wanting, Letitia Kiu recommends pulling tight on the end of them. This is a great tip for loosening individual strands of hair and can be repeated as needed.
Once you've completed these steps, then you can enjoy your newly-curled short hair!