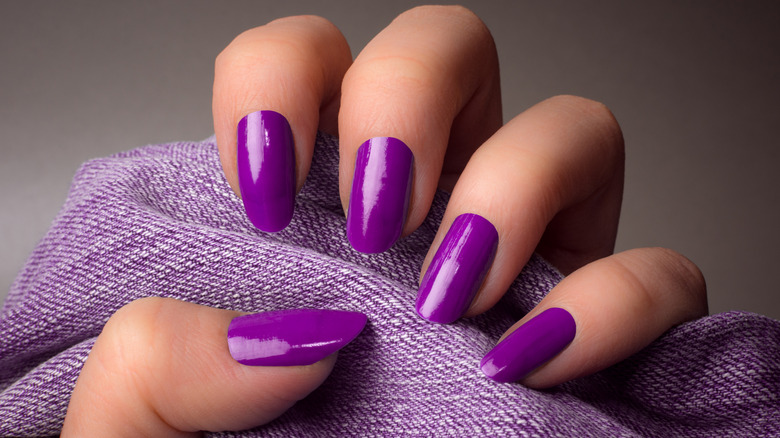
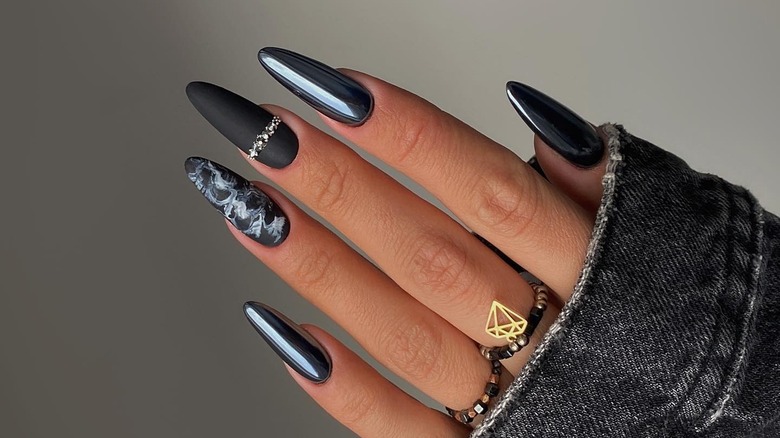
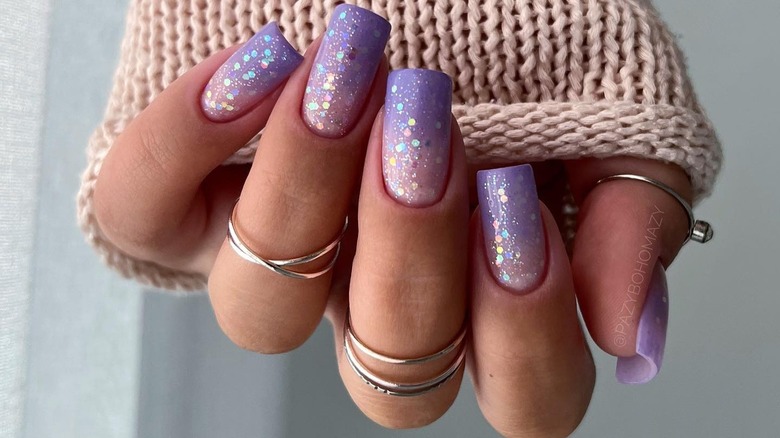
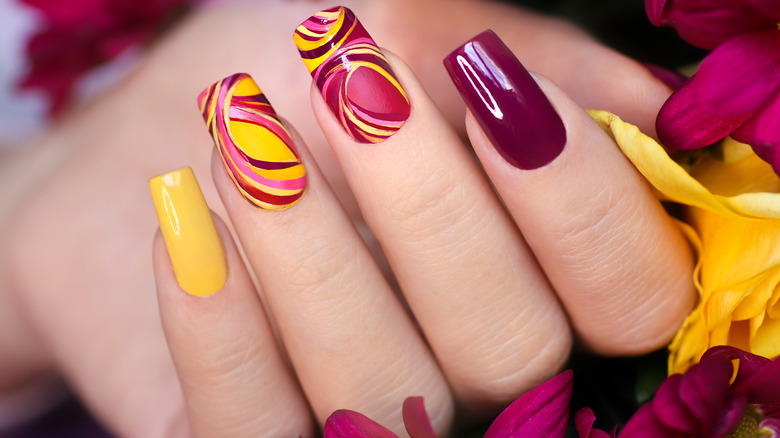
Get More Life Out Of Your Gel Manicure With These Simple Tips
We may receive a commission on purchases made from links.
How long does your gel manicure last? For most people the answer to this is two to three weeks, so you might be surprised to find that gel manicures can actually last up to six weeks. Many people assume their manicures cannot last this long if they have weak nails, but this isn't true.
Now, before you get on the phone with your manicurist or nail tech and demand free manicures for the next year, you should know that your daily habits can also affect how long your manicures last. You probably know most of the biggest mistakes everyone makes with gel nails such as picking at them and incorrect nail removal, but some other tips aren't as popular.
However, these less-known tips are equally important for anyone looking to get more life out of their gel manicure. If your gel nails never seem to last long enough, it's time to change your entire approach with some simple tips.
Pay attention to nail prep
Let's be honest: manicures have many steps and can be brutal on the nails without preparation. If your gel manicures don't last long, you need to choose a nail salon with the tools needed to prep your nails the right way. To begin nail prep, the cuticles should be pushed back, which can be done with the help of a cuticle remover and pusher. This step removes the dead skin while giving your polish a clear bed for application.
Your nail tech might also use a cuticle nipper to remove dead skin. This painless process sets the stage for nail buffing, which creates a better surface for your nail extensions (or gel) to adhere to. Next comes a crucial step; dehydrating the nails. A dehydrator or rubbing alcohol removes dirt, water, and oils from your nails. With this, extensions will be able to stick correctly without any lifting for weeks to come.
If your nails break easily and age your manicure, speak to your nail tech about getting a hard gel coat. Note that your nails will require buffing and rehydration again. Then, you can move on to an acid-free primer to allow the extensions to stick appropriately. With primers, less is more. Too much can actually do the opposite of what you need. With this done, your nail extension is ready to be applied.
Your gel application process is key
Once the extension is secure, ensure your nail tech uses a drill bit to blend the edges with your natural nail. This is also a great time to buff the surface of your extensions, so the gel adheres well. After this, the gel application can begin. Start with a base coat to provide a better slate for your gel. Be sure to let this cure (dry) under the UV light properly before moving in with your gel in thin coats.
Heavy coats of gel make the process faster and may appear dry after curing, but they can create gel puddles between coats. Thinner coats might lengthen the process, but they ensure that your polish cures well and doesn't lift. Be sure to follow the manufacturer's instructions regarding the required time for curing.
Another essential tip is immediately wiping any gel that slips out of the nail bed with acetone. Waiting too long could lift off your nail polish when you try to remove it. Depending on the richness of your color, two to three coats should be enough. After curing, use a top coat to preserve your polish. Remember to cap the tips of your nails by applying a top coat to the part of your nails that would make contact with a table if you were to drum your nails on it. Finish off with cuticle oil which is important to keep your nails healthy in between-manicures.
Start a hand and nail care routine
A hand and nail care routine can give you more life out of your gel manicures. To build a basic routine, start by purchasing cuticle oil which you can use after every handwash. Consider purchasing a cuticle oil pen to make the entire application process easier. You can make your own DIY cuticle oil and buy a pack of 12 empty transparent twist cuticle oil pens on Amazon for less than $10.
Another idea is to purchase CND Nail & Cuticle Care SolarOil, which costs $10 and comes with a free oil pen. CND is on the pricier side but contains Jojoba, which penetrates and softens the cuticle. It also promotes strong nails, so you can say goodbye to chips. One important tip is to ditch hand dryers, which can be harsh on your nails and hands. Instead, dry your hand with a clean microfiber towel. After your cuticle oil, go in with a hand cream for moisturization.
Don't worry if a bit of cuticle oil is left on your hands — rub it all in. Your nails can't look good if your hands look bad, so invest in quality hand cream. Look for products with hyaluronic acid, the anti-aging ingredient that will keep your hands looking young. It would also help to reapply a top coat every two to three days to protect your gel polish.
Stay away from substances that can breakdown gel manicures
If your gel manicure doesn't last long, your daily chores could be the culprits. For starters, neither your nails, hands, or skin need hot water. Hot water can weaken gel polish and lift it. It can also dry out your skin, which robs it of its youth, so it's best to stick to warm showers. You should also avoid dipping your hands in hot water, detergent, vinegar, or hair dye.
If you garden, several pesticides can also eat at your gel polish. Consequently, you should invest in rubber gloves if you intend to continue chores that require these products. Wearing gloves is also good for your skin because exposure to most of these chemicals harms it. It might seem that your hands and nails have identical needs, which is somewhat true. However, one significant difference in their needs is that your hands need sunscreen, but your nails do not.
Sunscreen can dissolve gel and acrylic polish. Speaking of sunscreen, a helpful tip from Adeline Kikam, a board-certified dermatologist, is to use sunscreen before going under the UV lamp. Kikam goes by "brownskinderm" on Instagram, where she shared this tip. She explained that the UV lights used to dry the gel polish can cause premature aging and cancer. So, be sure to coat your fingers just before going under the UV lamp.
Take care of nail chips right away
The sad fact is that some nail chips are just unavoidable. You can get your nails caught in your clothes or hair, and this is even likelier if you use gel polish on your natural nails. Many people suggest filing down on nail chips to erase them, but nail tech Amy Ling Lin advises against it. In an interview with InStyle, Ling stated that filing or clipping gel nails will break the top cap and weaken the nail.
So, what's the right way to deal with chips? If getting another manicure isn't an option, consider redoing the chipped nail alone. Filing or clipping your nail might be cheaper, but they are one-way paths to chipping and peeling. In addition, skip the tempting urge to ignore your nailcare routine — it is just as important as skincare. Gel manicures aren't cheap, so it would help if you maintained them to save time and money.
Finally, let's not forget that getting more life out of your gel manicures isn't dependent on you alone. Your nail tech is responsible for building a sturdy foundation, so spending money on a good one is essential. If your current nail tech doesn't meet your needs, all hope isn't lost. Consider sharing this article with them to explain your worries and needs. Most nail techs will happily tweak their prep and application processes to suit your needs.