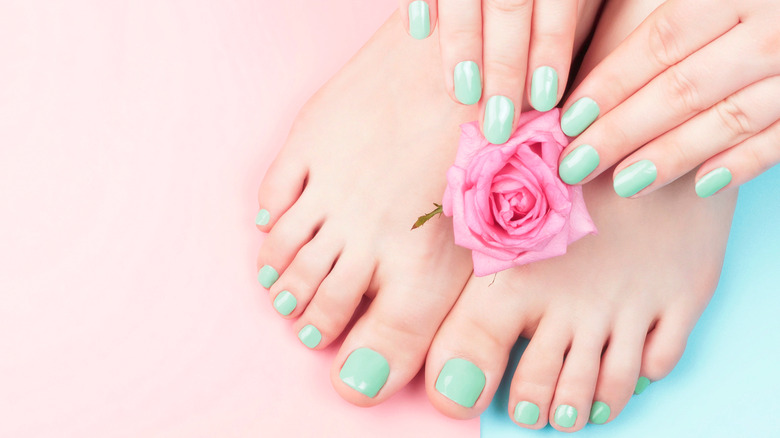
How To Give Yourself A Perfect Pedicure At Home
Pedicure season is year round. Get into the habit of dedicating time in your busy schedule for some much-needed nail care. After a long day or week, blocking off an hour or two for a DIY mani-pedi session can keep you centered while also providing an easy release. Make it a spa day by pouring yourself a glass of your best wine, getting the bubble bath ready, and picking out your favorite book.
You don't have to drop a lot of cash for a polished look. Prepping for your at-home pedicure is a simple and relatively cheap process, and chances are a quick visit to your bathroom cabinet will give you everything you need. Before the nail polish comes out, Teen Vogue recommends shaping your nails first, while also exercising caution as you cut them so that they don't end up too short. DIY your nails with these foolproof beauty tips.
Replicate the spa experience for your DIY pedicure
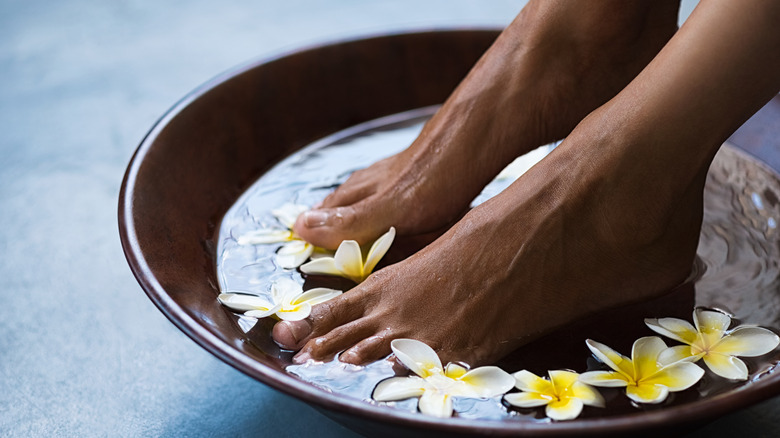
A DIY pedicure is only as good as the techniques you use. Oprah Daily advises you give your feet some love by soaking them in warm water and Epsom salt. Dry your feet after five to 10 minutes. For strong nails, Healthline stresses the importance of keeping the right tools handy, including nail oil, cuticle oil, and a file board (preferably glass). A common mistake people make is filing their nails in a seesaw motion. Avoid brittle nails by filing in one direction.
After your feet are soaked and nails prepped, Byrdie suggests scrubbing your heels with either a foot file or pumice stone. Just be mindful of how much skin you're scrubbing off. For the full spa experience, gently massage cuticle oil into the bottom and sides of your nails. This helps increase circulation (via Tipsy Turvy Nails) and also encourages nail growth (via Good Housekeeping).
Before you start applying your chosen nail color, make sure that you use a base coat as your first layer (via Oprah Daily). Repeat the same process with a top coat once your nails are painted, and bam — you have gorgeous nails.