Use Your Products In This Order To Make Your Lip Color Last All Day
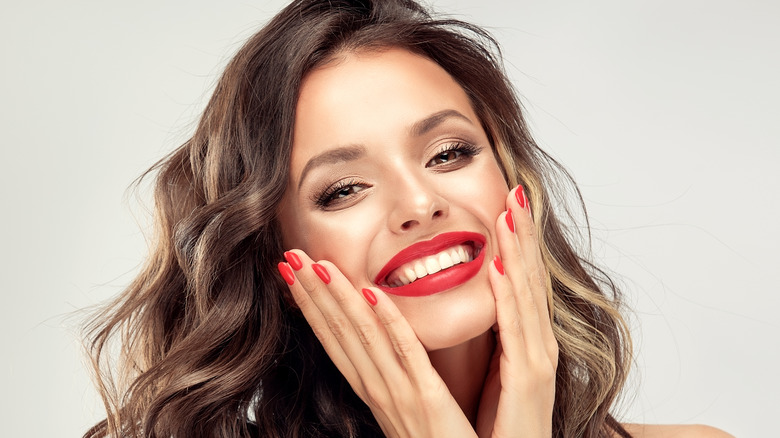
Lipstick is the finishing touch for most makeup routines, but it often fades away quickly. This is especially frustrating if you've splashed out on an expensive lipstick, only to find it's barely visible after dinner. There's no doubt that lipstick is a staple, whether you prefer barely-there skin toned hues or bold red shades, which is why it would be amazing if it lasted just that little bit longer.
We've all been there — you apply your lipstick perfectly and then sit down to sip a drink or eat a meal. Afterward, you think your pout is still pristine but when looking in the bathroom mirror, you notice your lips are back to their natural shade (or worse, the lipstick is smudge around your mouth). It's enough to make even the most ardent lipstick lovers give up, especially if you have a busy lifestyle and don't have time to constantly reapply.
Still, don't give up on lipstick altogether. We've found a handy way for your lipstick to stay on even after your second martini, so you can enjoy yourself without looking bare-lipped in photos.
Preparation is very important if you want a perfect pout
Luckily for us, MindBodyGreen has laid out how exactly to achieve the perfect pout. It takes a bit of work, but we think that the end results will be more than worth it. The very first step is to start off with a lip scrub. An often overlooked step, makeup artist Joy Fennell spoke to Good Housekeeping about the importance of lip scrubs, sharing that exfoliated lips will provide you with the ideal base for non-fading lipstick. If the world of exfoliation seems a little overwhelming, here are some of the best lip scrubs to help your lips stay soft and prepped.
Next, you'll want to dig out your lip balm — to find the best lip balm for your lips, take a close look at your untouched lips to understand the level of hydration you need. Makeup artist Jenny Patinkin recommends a clear balm if you want the full pigmented color from your lipstick, but you can also go for one with a slight tint to create a rosy base. This step requires some foresight and patience, as you'll want to leave your lips for at least 15 minutes before adding anything else. If you apply your lipstick immediately after your balm, the color won't stay, so use this time to paint your nails or pick an outfit.
After prepping, you're ready to start adding color

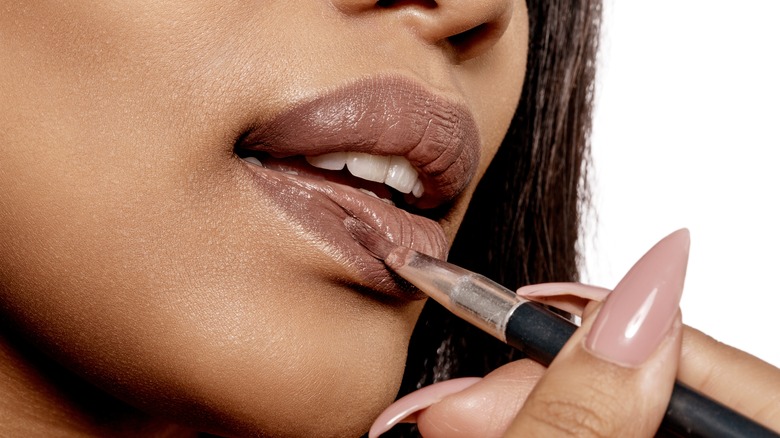
Following on with the tips from MindBodyGreen, the next step is to find a lip liner once your 15 minutes are up. It's important to find a lip liner that's as similar as possible in shade to your lipstick for a cohesive look. Begin with an outline, then shade the liner over your lips for complete coverage. The benefits of applying lip liner before lipstick include creating a guideline for when you're filling in with lipstick and giving you yet another base for when your top lipstick coat inevitably fades away.
Finally, it's time for lipstick! Grab your favorite shade and apply carefully, using your liner as a guide. Don't just settle for one layer here — go for a few in order to build color. Make sure to blot in-between applications, as this is what will push the lipstick pigment into your base and really help it to last. For an optional final step, you can follow up with lip gloss. Not just a relic of the early 2000s, it was recently pointed out in Cosmopolitan that gloss can actually make your lips temporarily appear bigger, especially if it's a gloss specifically made to plump your lips.
Voila! You're left with a flawless lip look that will last all day (and night).