How To Do The Clay Earrings DIY Trend
There's no better way to forget your worries and dip into your creative side than with some TikTok arts and crafts. Clay earrings, for instance, are the perfect on-trend activity. They're inexpensive, fun to create (think soothing, sensory experience), and add a touch of personality to your jewelry collection.
So, where should you begin with your project? According to Sarah Maker, you should first purchase your supplies, which include high-quality polymer clay (found at your local crafts store like Michaels or Hobby Lobby), earring backs, jump rings, and flexible superglue (such as the kinds made by Gorilla Glue).
In terms of tools for making some DIY clay earrings (via TikTok inspiration), you will need parchment paper or foil, a baking sheet, a rolling pin, an X-Acto knife or clay slicer, a toothpick, and jewelry pliers, via blog Paper & Stitch. You may also use small cookie cutters or clay pattern sheets.
Creating the perfect clay earrings
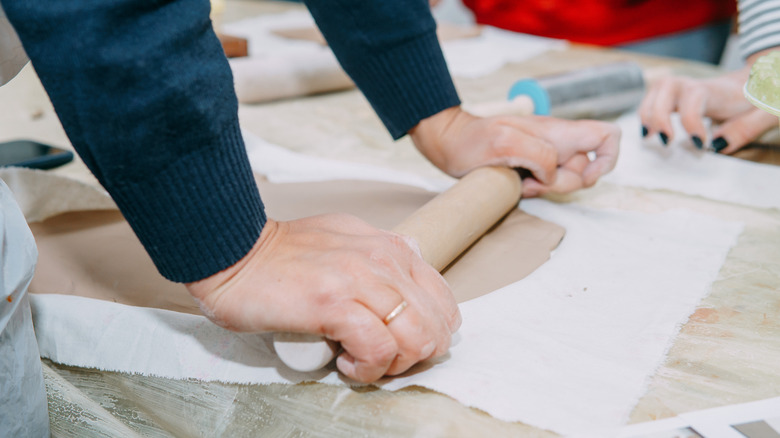
As explained by The Spruce Crafts, you should first prep your workspace. Also, you may want to work directly on your metal baking sheet to ensure you don't cut into the table. Once you have that set up, it's time to get started. Sweet Red Poppy recommends that you break off a piece of polymer clay and work it between your fingers to soften it. Once the clay feels warm and malleable, use your rolling pin to roll it to your desired thickness.
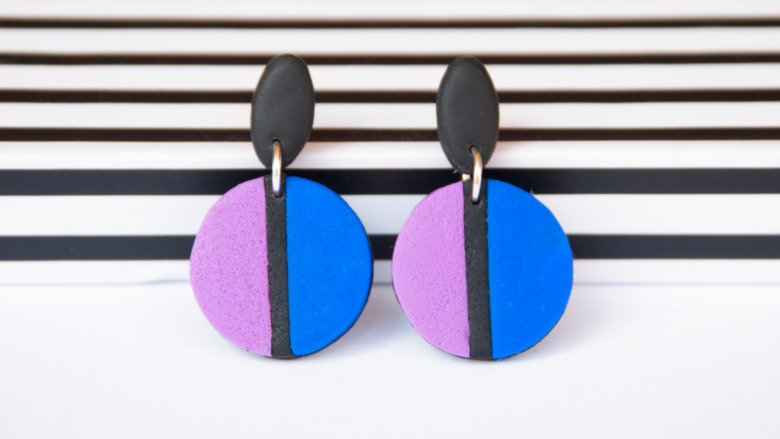
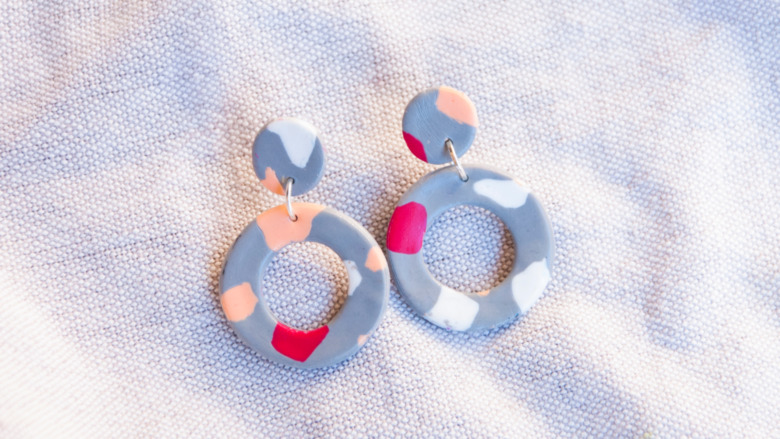
At this point, you may begin cutting shapes with your cookie cutter or use a pattern sheet to imprint designs into the clay (via The Spruce Crafts). If you are imprinting designs, make sure you do that step first before cutting the clay. After you have created your first shape for your DIY clay earrings, you can add more pieces, such as a second clay shape that will hang below the first on the same earring, per Paper & Stitch.
The final steps of making clay earrings
If you are creating two-piece earrings, Paper & Stitch points out you'll need to pierce holes in them so you can attach the pieces later; a much easier task done before the clay hardens. Pierce your top-hanging piece at the bottom with a toothpick, creating a single small hole. Then, pierce your bottom-hanging piece at the top (where you want the two to link).
Once you have finished creating the clay designs for your first earring, repeat the same process for the second. Now, it's time to bake. Place your creations on parchment paper on top of the baking sheet and put them in the oven. Check the back of your clay package for oven temperature and baking time, per Sarah Maker.
Once basked, remove your clay from the oven and let it cool; then use a dab of super glue to attach your earring posts to the clay. Once the posts are secured, you can attach your bottom-hanging clay pieces to each earring (if you went for a two-piece design). As described by Sweet Red Poppy, use jewelry pliers to thread a single jump ring through the holes of the clay pieces you want to connect. Once you're finished, you can begin wearing your new, personalized DIY clay earrings.